-
1
Make Sure Your VMDK File Is Ready
Before opening UTM, find your .vmdk file on your Mac. It is probably in your Downloads folder or wherever you saved it. Keep that folder open in Finder so you can find the file quickly when UTM asks for it.
Tip: If your VMDK file came inside an OVA package, you need to extract it first. Go back and follow Steps 1 to 7 in the OVA to qcow2 guide to extract the VMDK from the OVA — then come back here. -
2
Open UTM on Your Mac
Open UTM from your Applications folder. You will see the UTM home screen. If this is your first time opening it, the screen will be mostly empty — that is totally fine!
-
3
Click "Create a New Virtual Machine"
Click the Create a New Virtual Machine button in the centre of the UTM home screen. A setup wizard will appear to guide you through creating your VM.
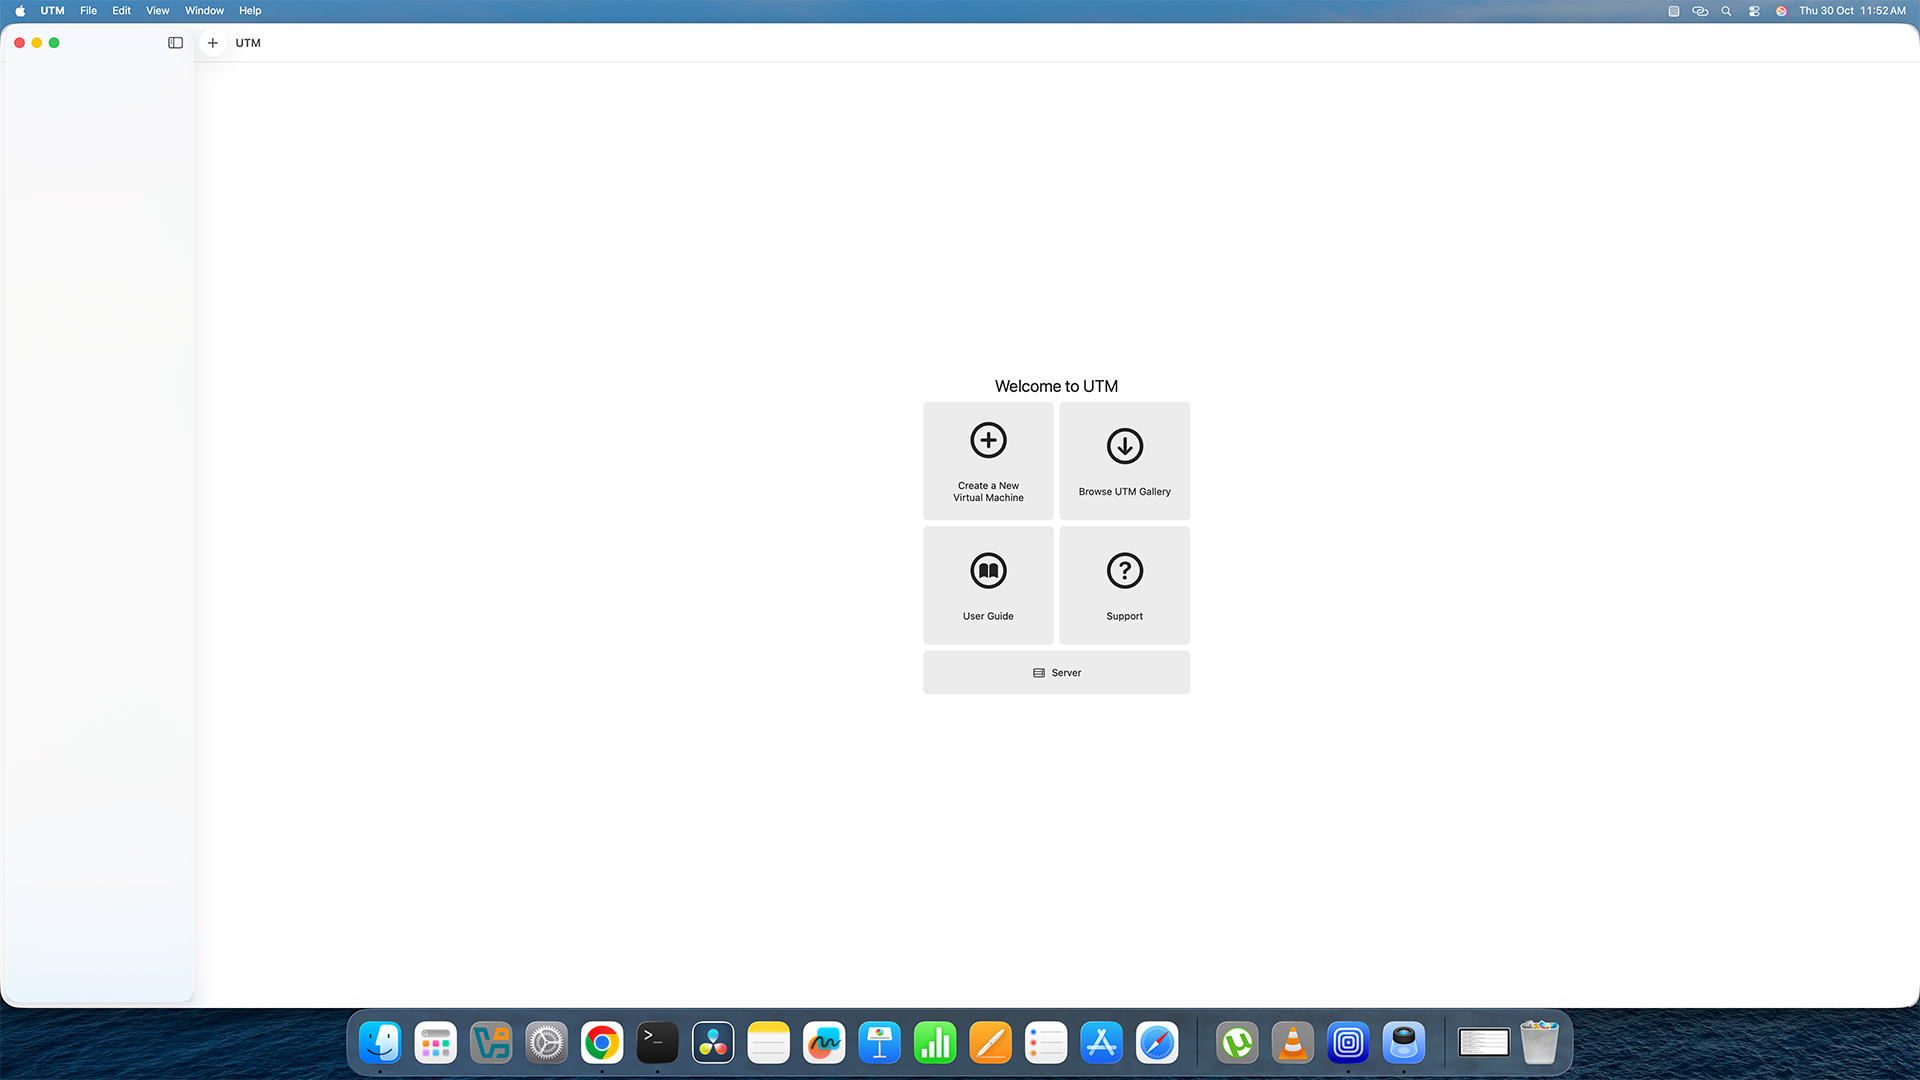
Click "Create a New Virtual Machine" to start the setup wizard. -
4
Select "Emulate"
When the wizard asks how you want to create your VM, click Emulate. This option tells UTM to emulate another computer so it can run your virtual machine files.
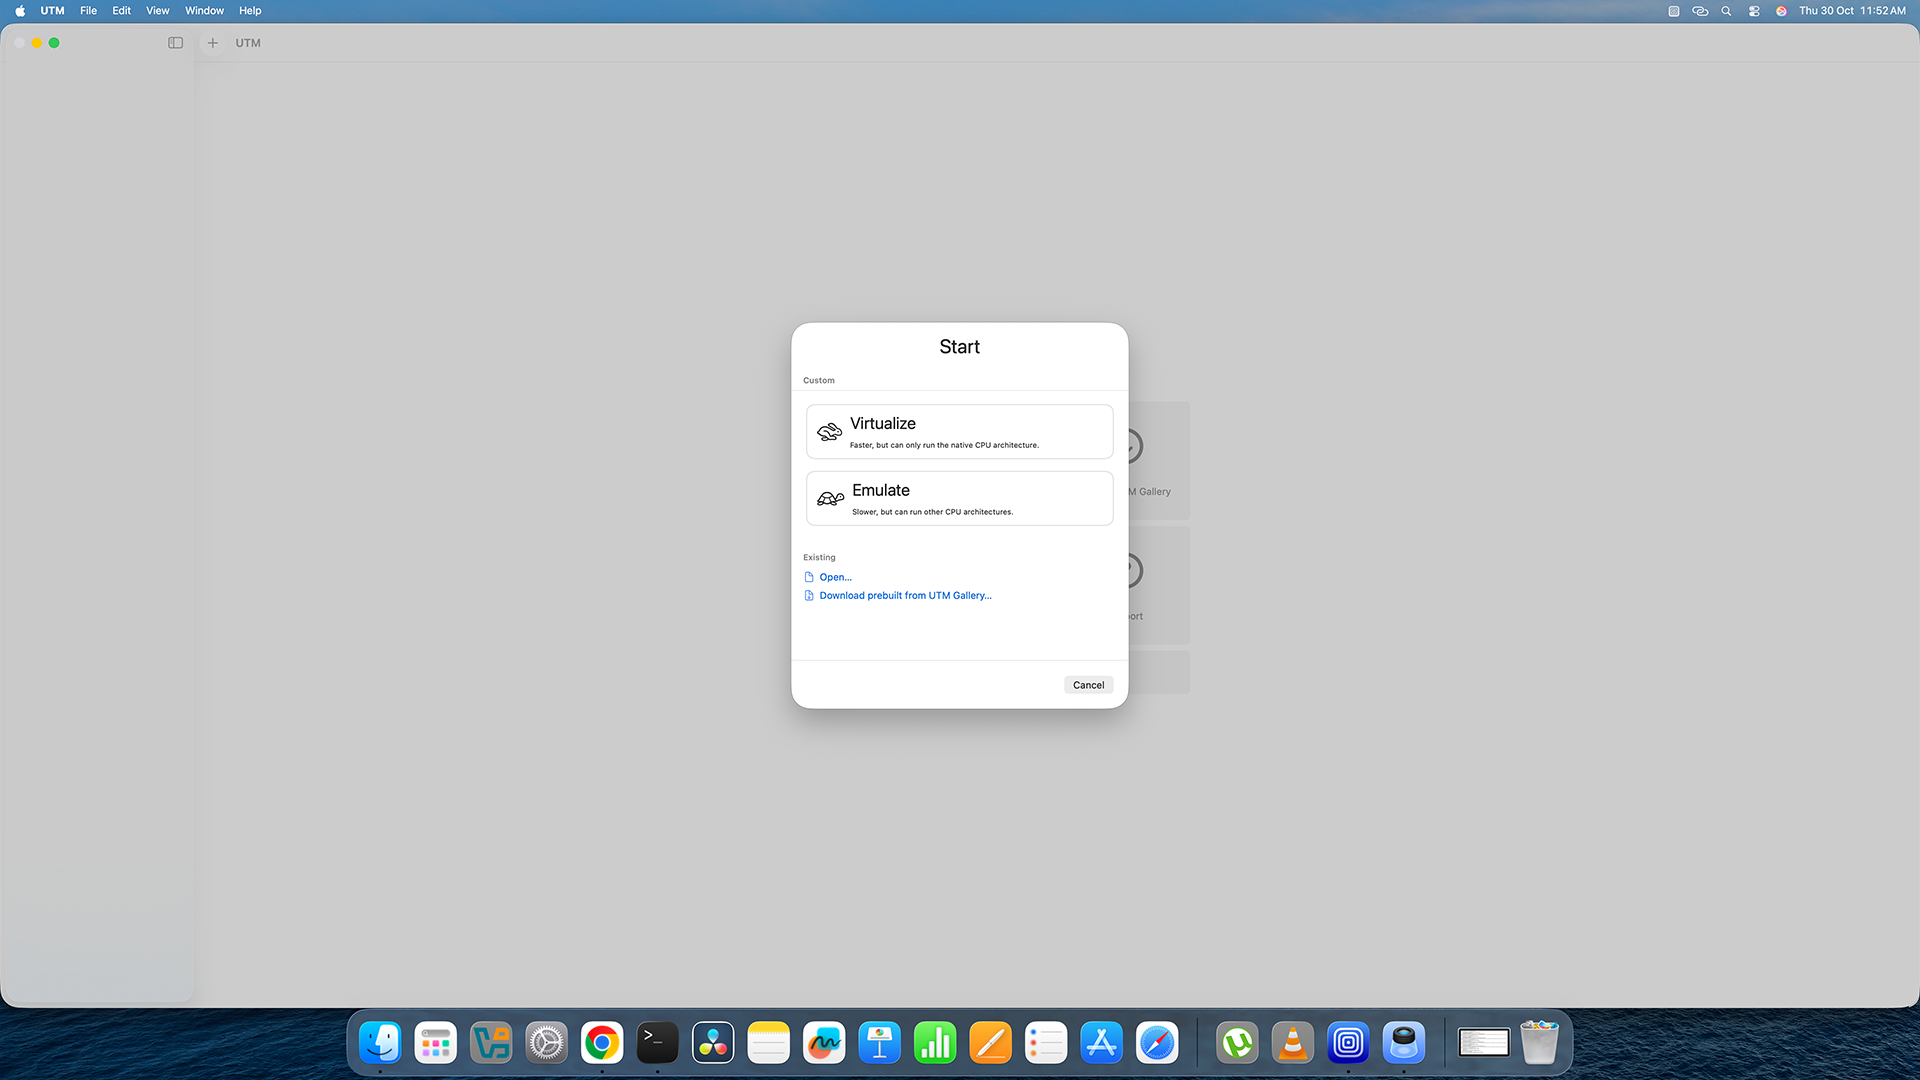
Choose "Emulate" on this screen. -
5
Select "Other"
On the operating system selection screen, pick Other. This is the correct choice when you are importing an existing virtual machine file rather than installing a fresh one.
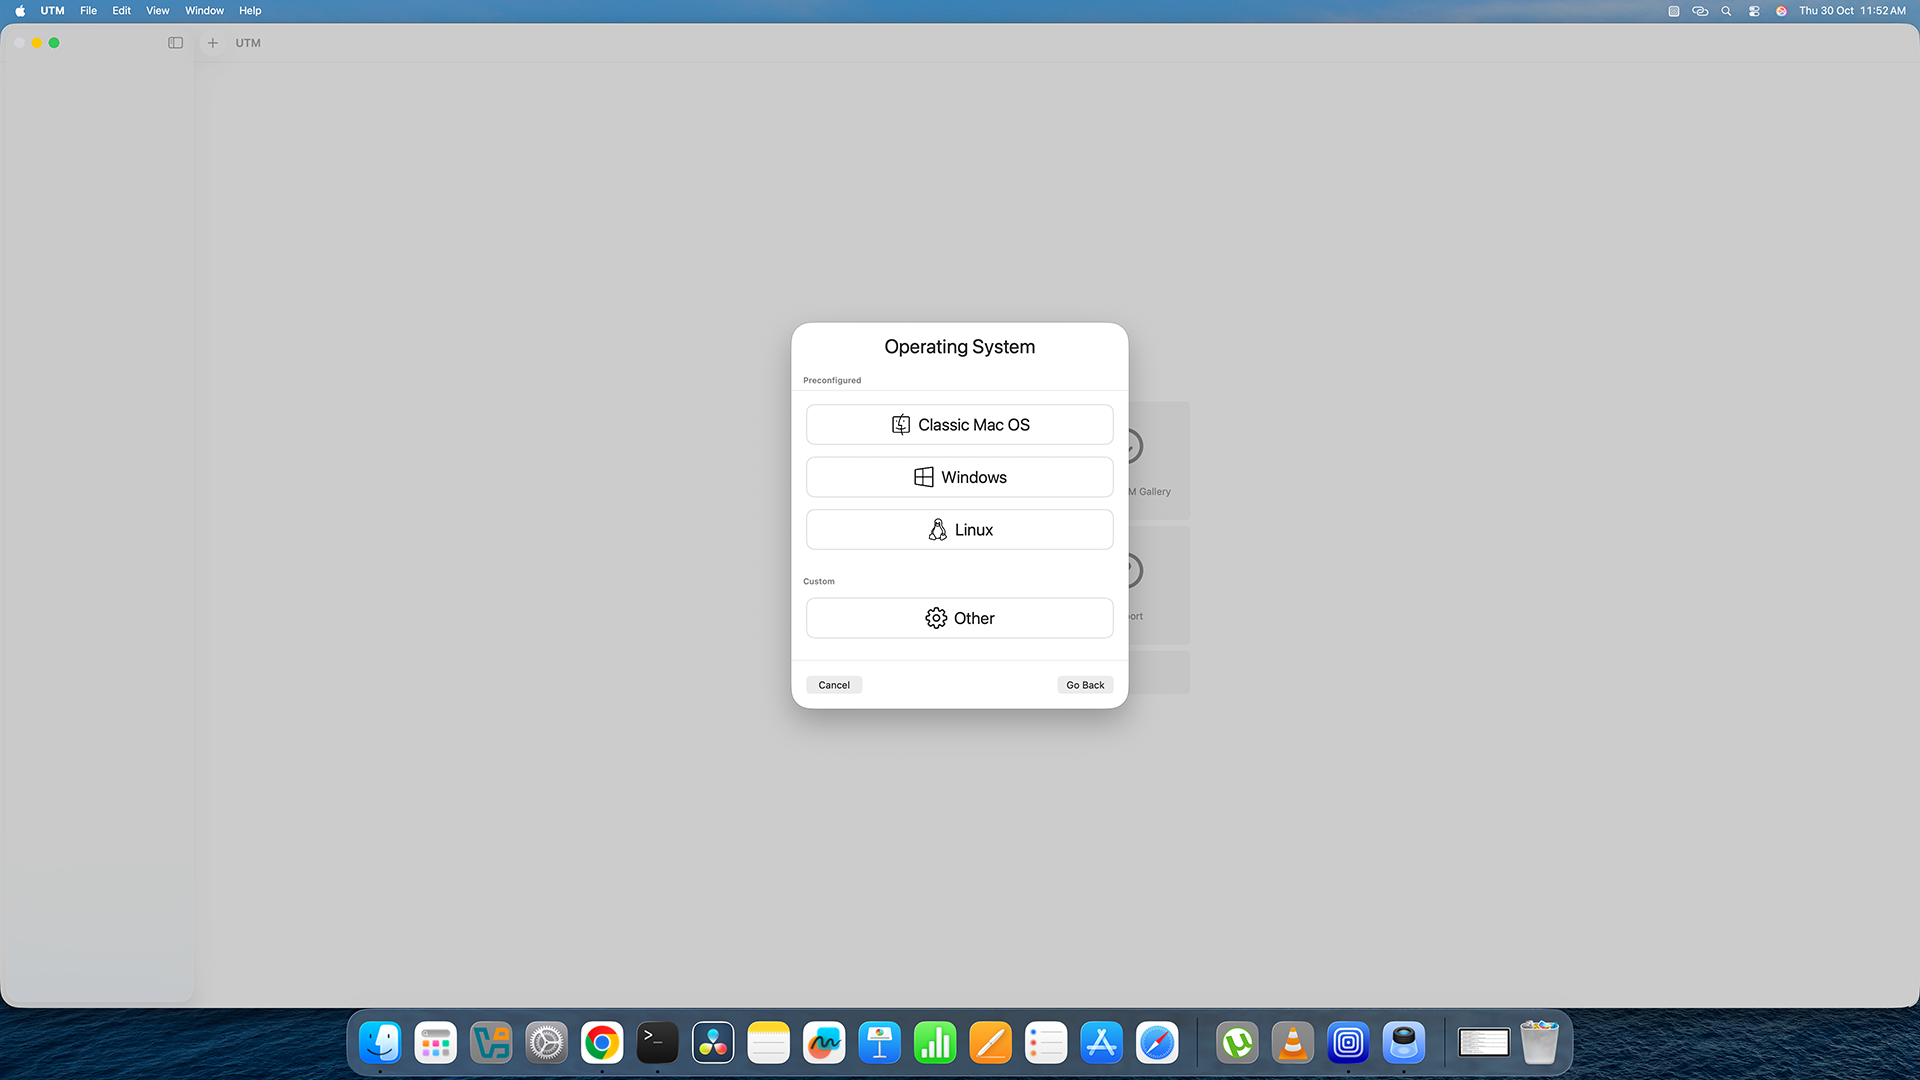
Select "Other" as the operating system type. -
6
Configure the Hardware Settings
On the Hardware screen, set up the following:
• Machine: Choose Standard PC (Q35 + ICH9) or Intel ICH9 based PC from the dropdown.
• Memory (RAM): Enter the amount you want to give the VM. Remember this is in MB! (1 GB = 1024 MB, so for 2 GB type 2048, for 4 GB type 4096.)
• CPU Cores: Leave this at the default value.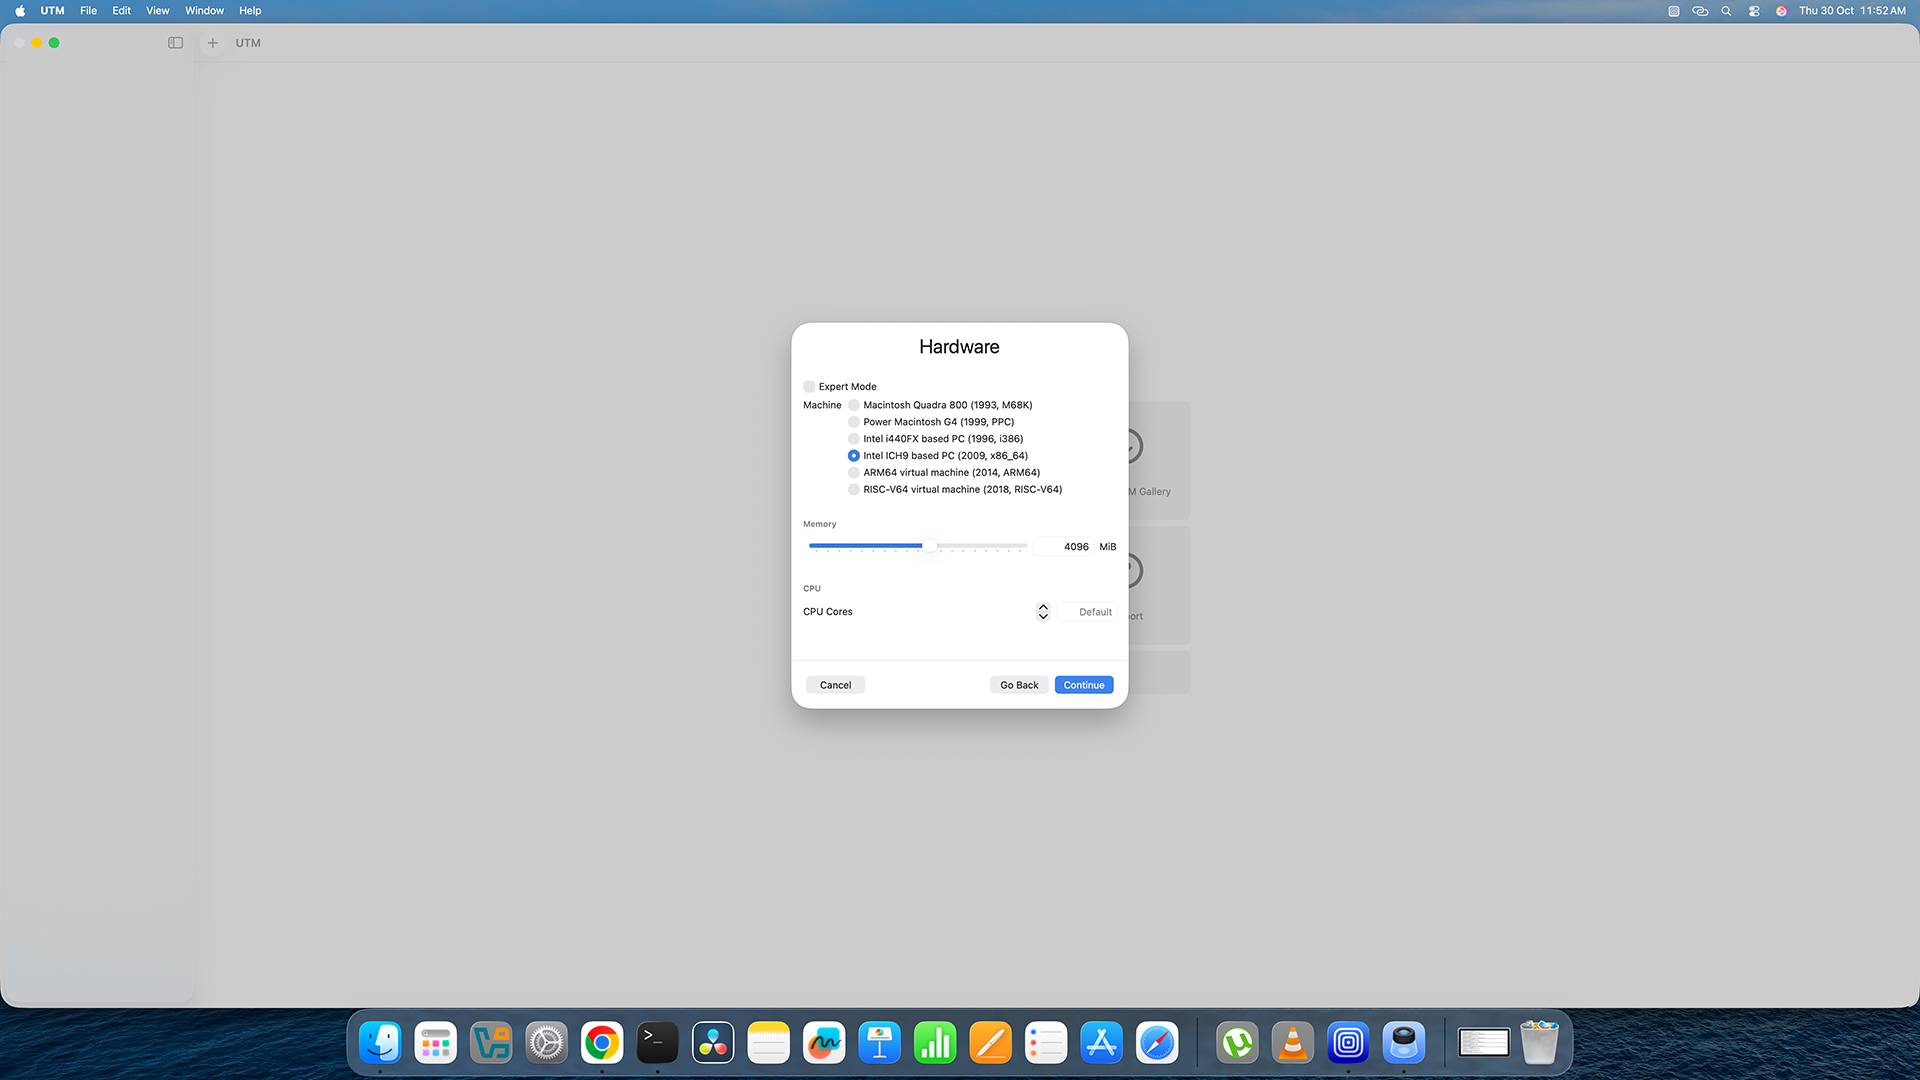
Choose the machine type and how much memory (RAM) to give the virtual machine. -
7
Set the Boot Options
On the Boot settings screen:
• Set Boot Device to None.
• Turn off UEFI Boot — uncheck that box if it is checked.
• Click Next.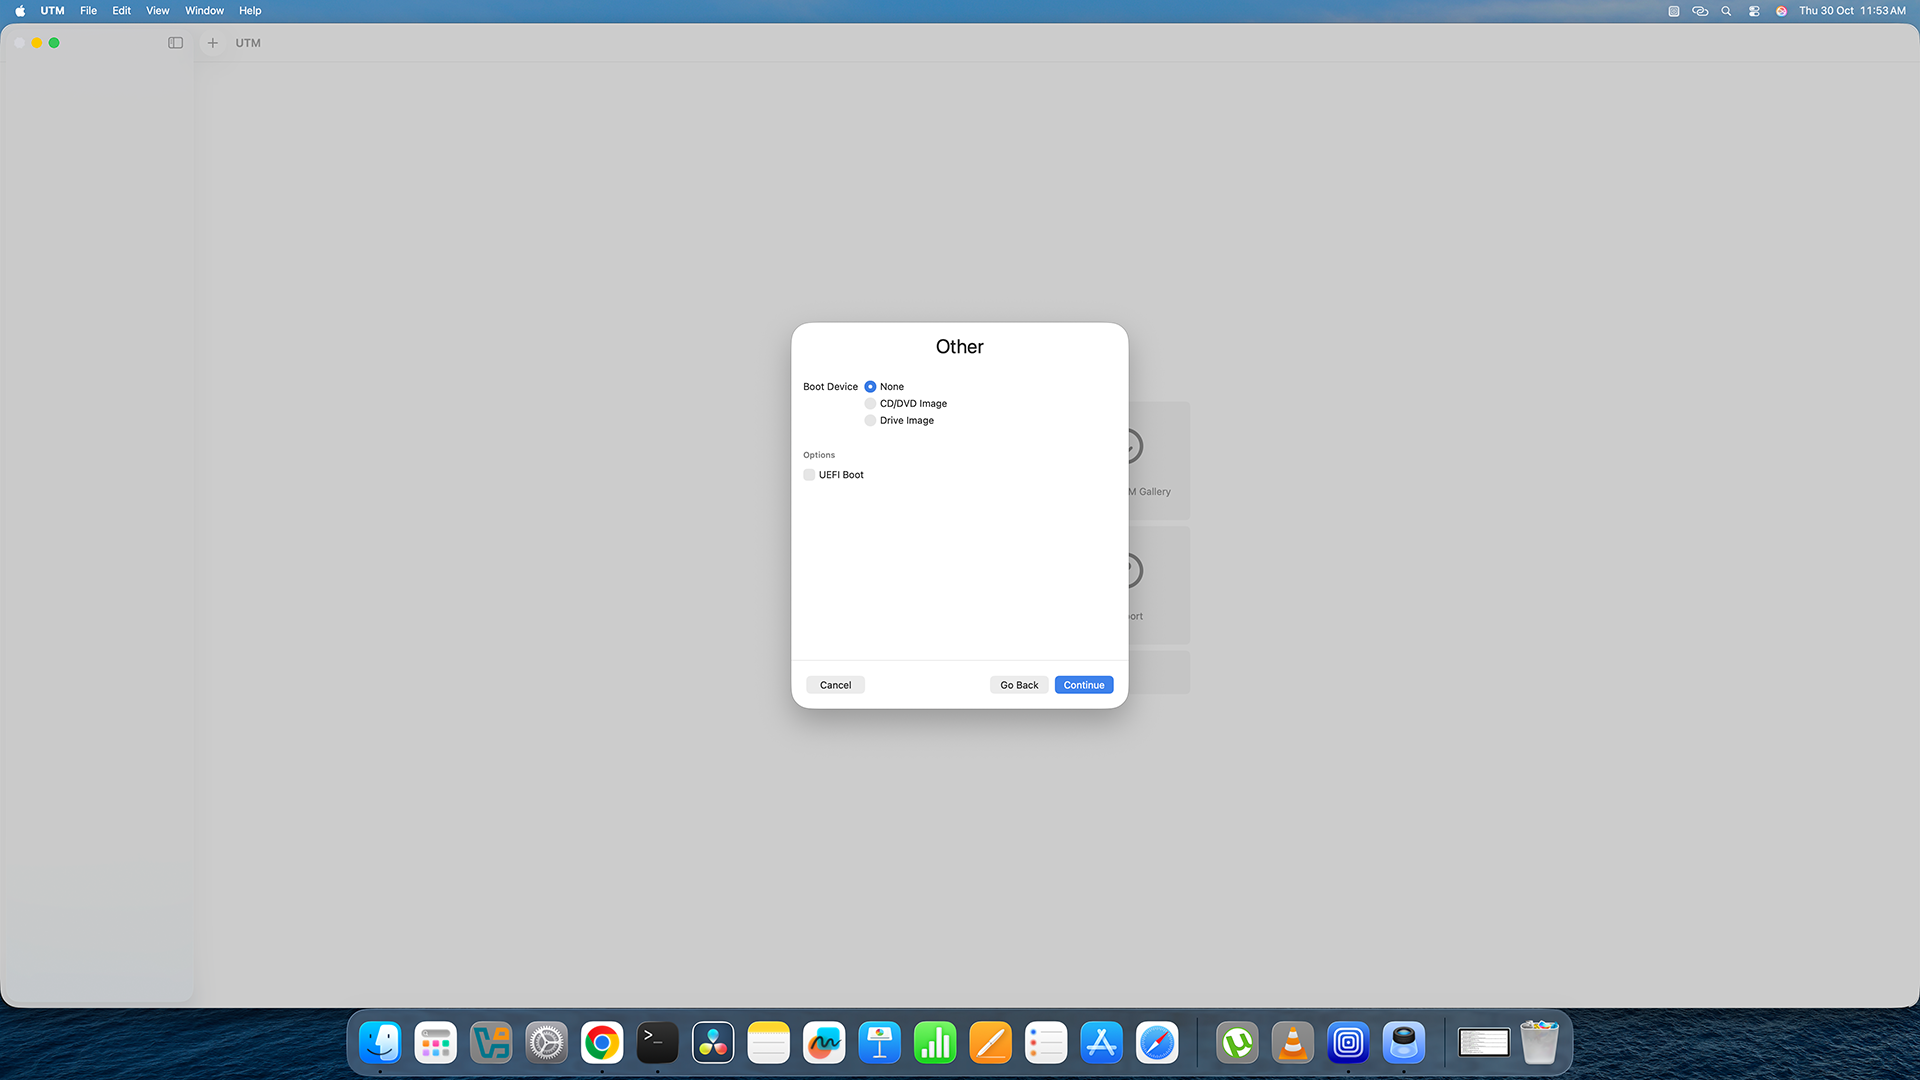
Set Boot Device to None, disable UEFI Boot, and click Next. -
8
Set Storage to 2 GB
On the Storage screen, type 2 for the size (2 GB). Do not worry about this — it is just a placeholder that we will remove and replace with your VMDK file very soon. Click Next.

Set storage to 2 GB as a placeholder — we will replace this shortly. -
9
Skip the Shared Directory — Just Click Continue
The next screen is about sharing folders between your Mac and the VM. You do not need to set this up right now. Just click Continue to skip past it.
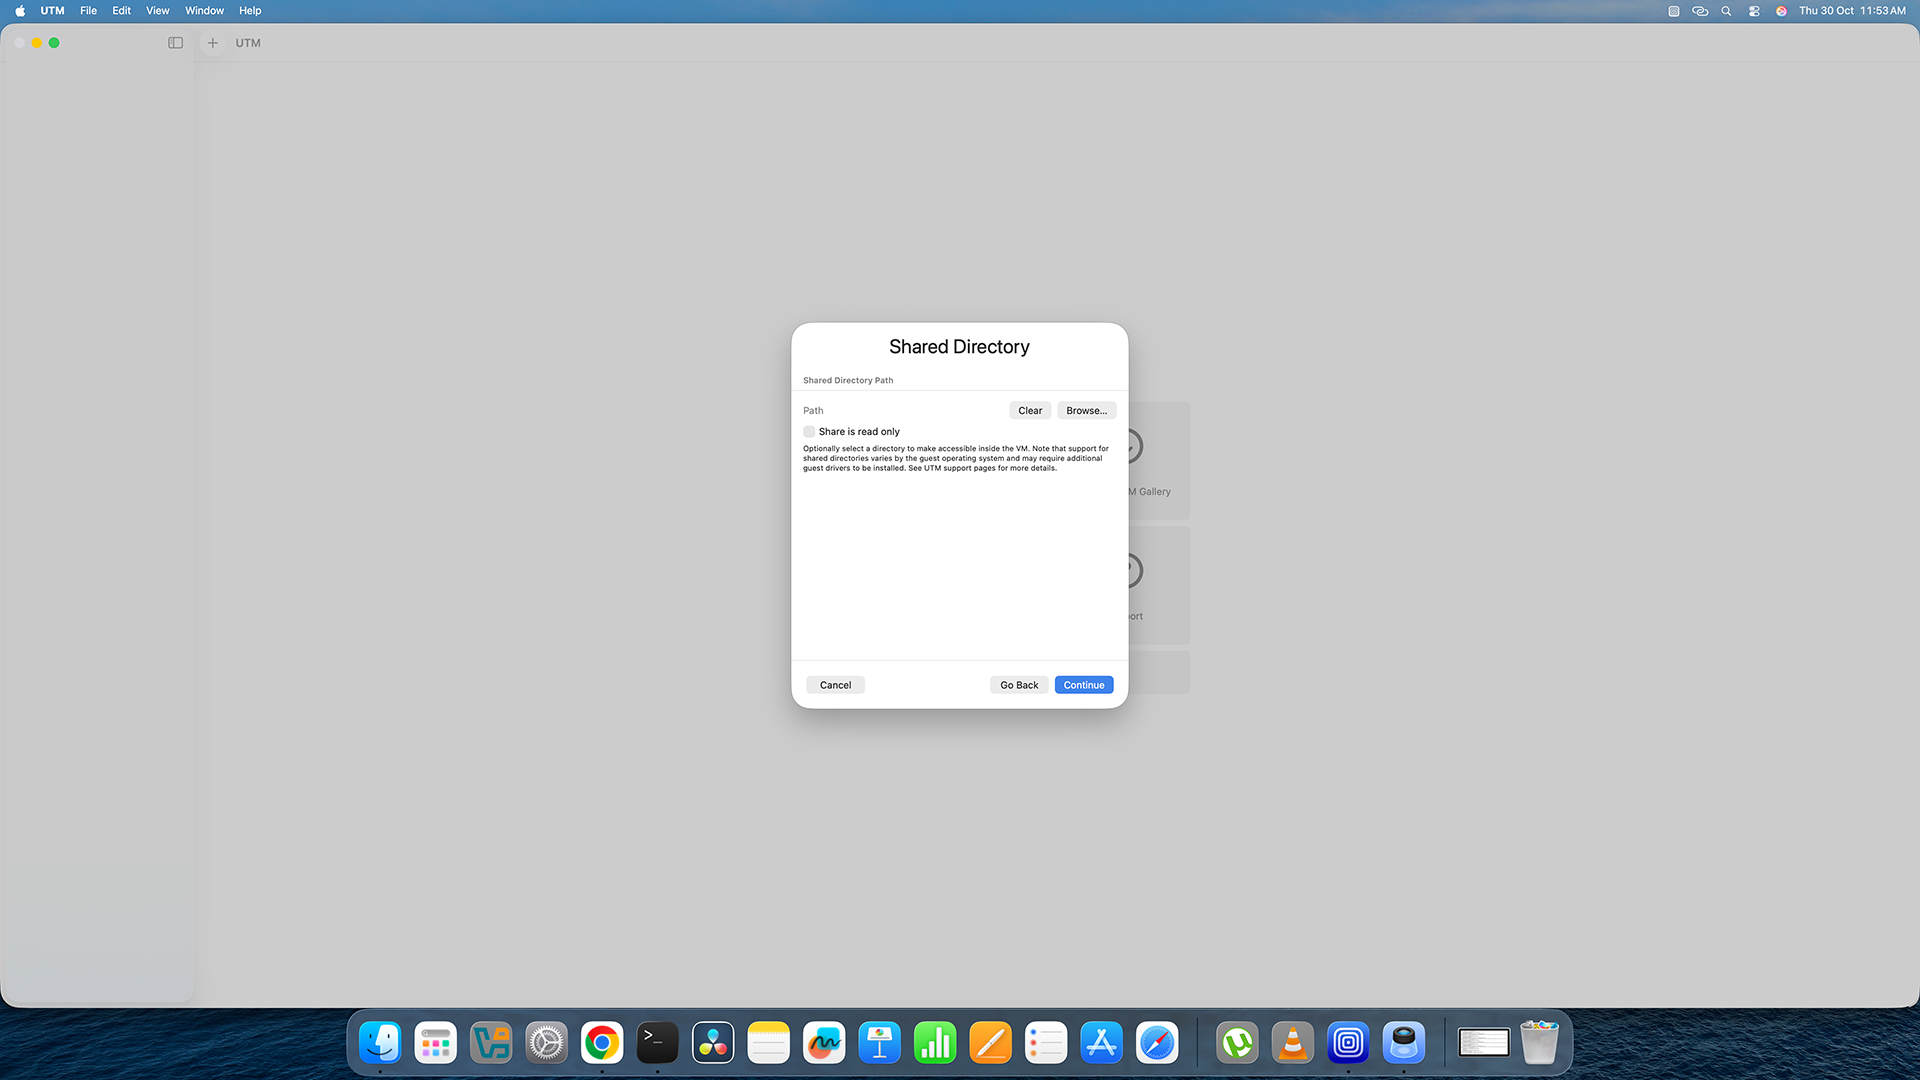
Click Continue on the Shared Directory screen without changing anything. -
10
Name Your VM and Click Save
On the Summary screen, give your virtual machine a name you will remember — for example My VM or Linux Machine. Then click Save to create it.
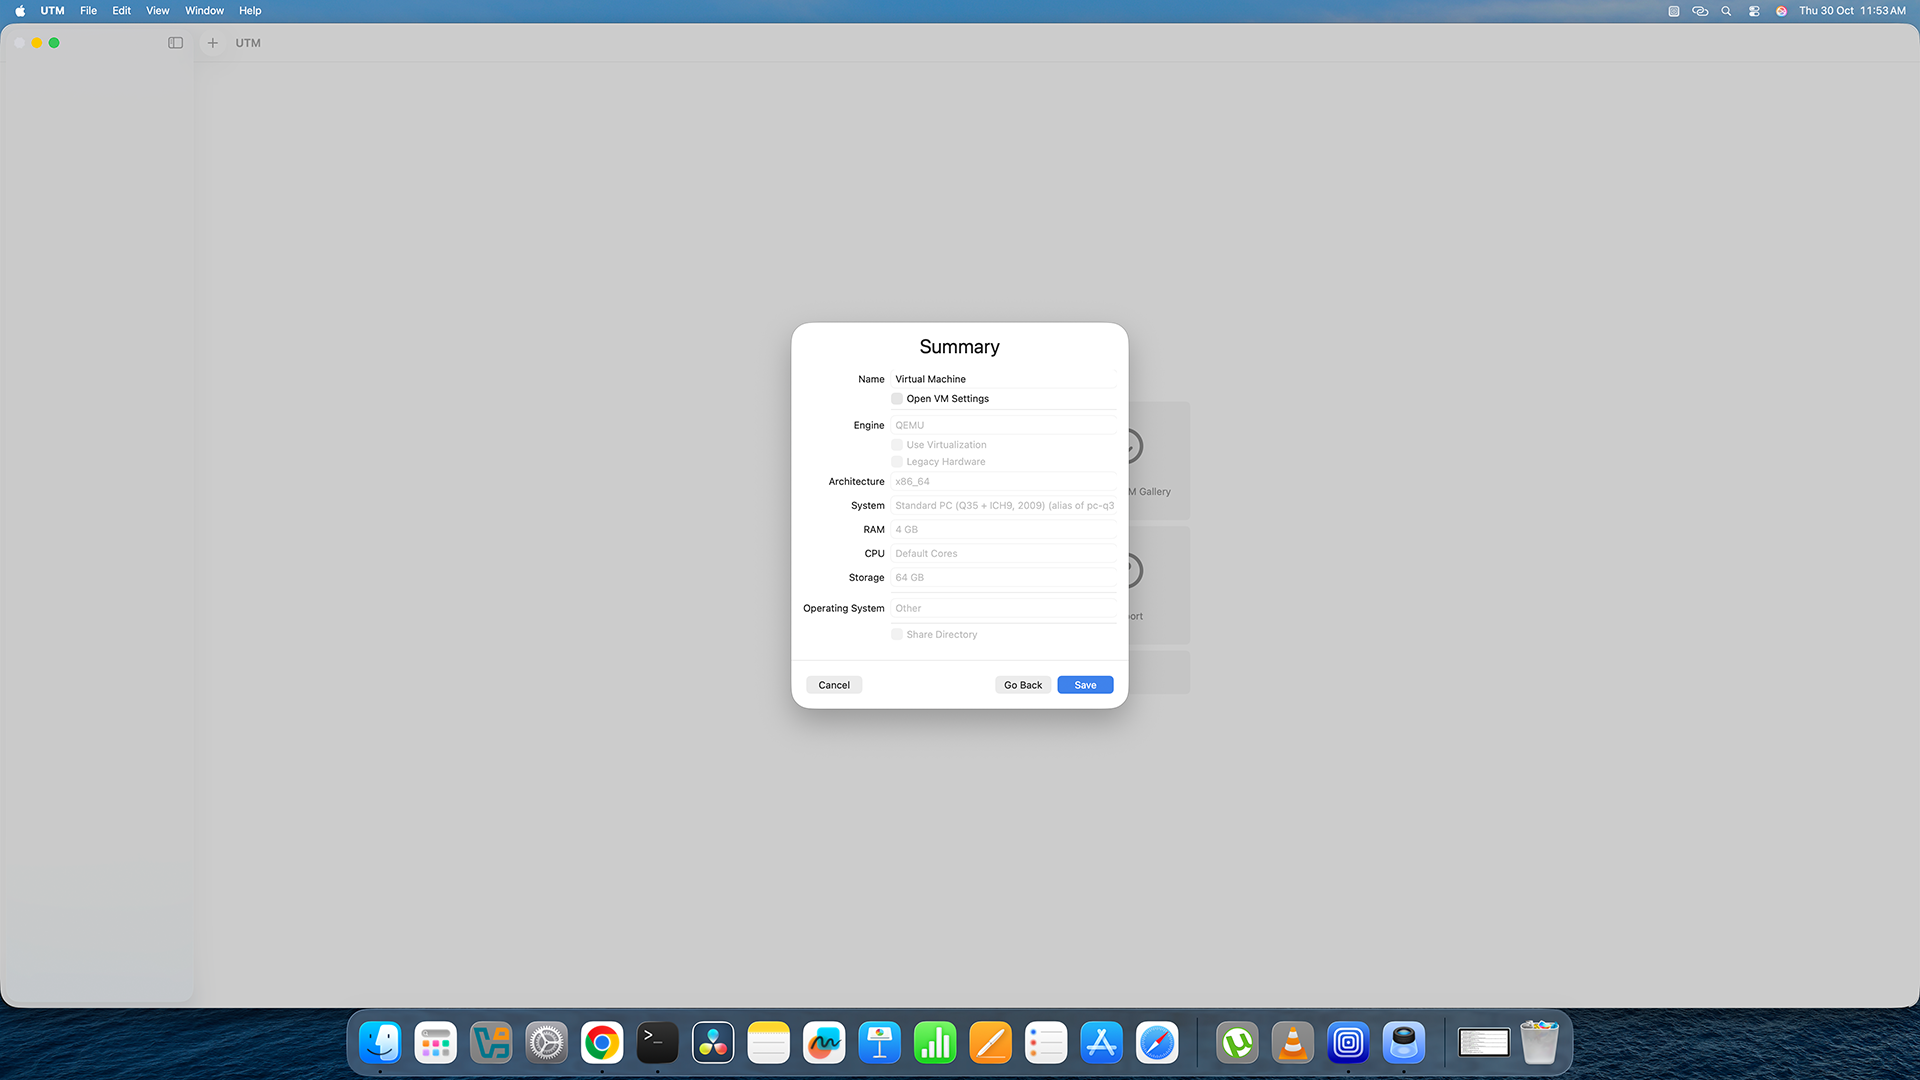
Name your virtual machine and click Save. -
11
Right-Click the VM and Choose Edit
Your new VM will appear in the sidebar on the left side of UTM. Right-click on its name and select Edit from the small menu that pops up.
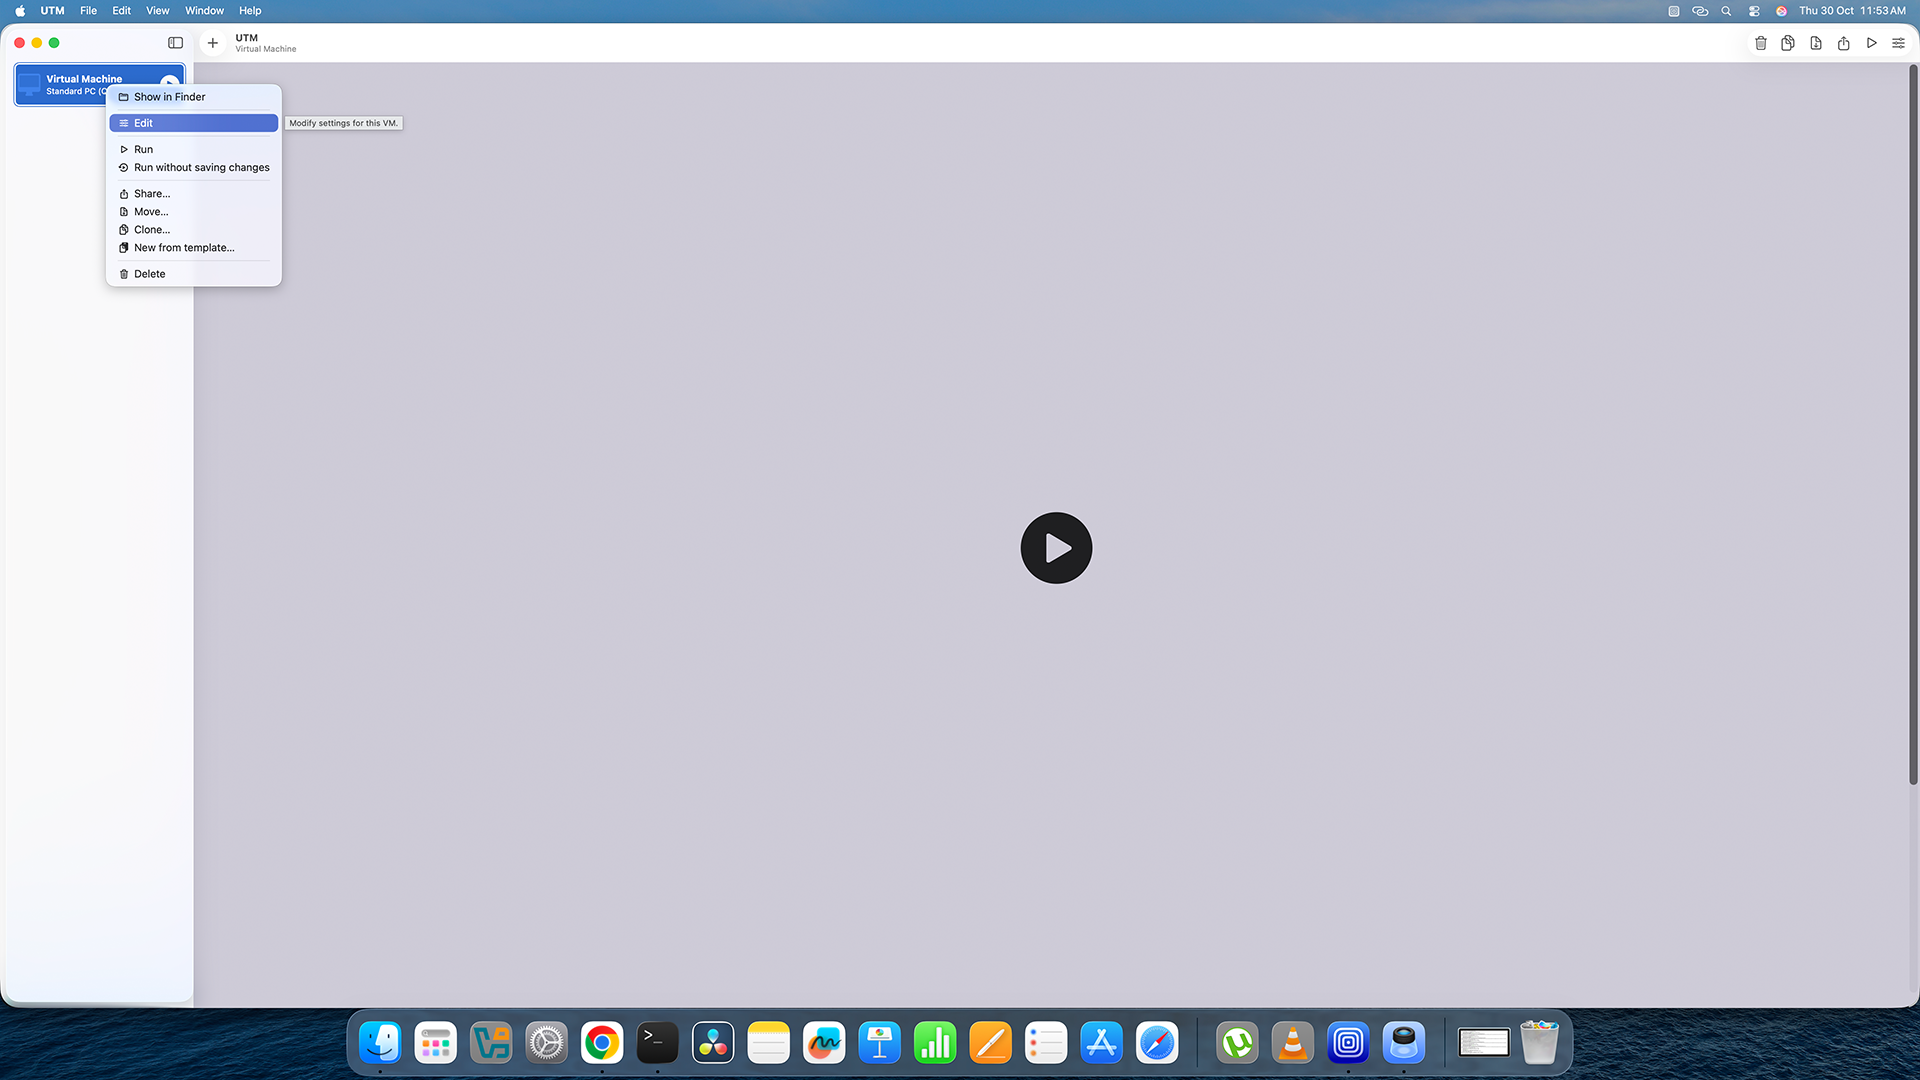
Right-click your VM in the sidebar and choose Edit. -
12
Swap the Placeholder Disk for Your VMDK File
In the Edit window, scroll down to the Devices section. You will see an IDE Drive listed — that is the placeholder. Here is what to do:
• Select the IDE Drive and delete it using the delete or minus button.
• Click the New button to add a drive.
• Choose Import from the options.
• Browse to your .vmdk file and select it.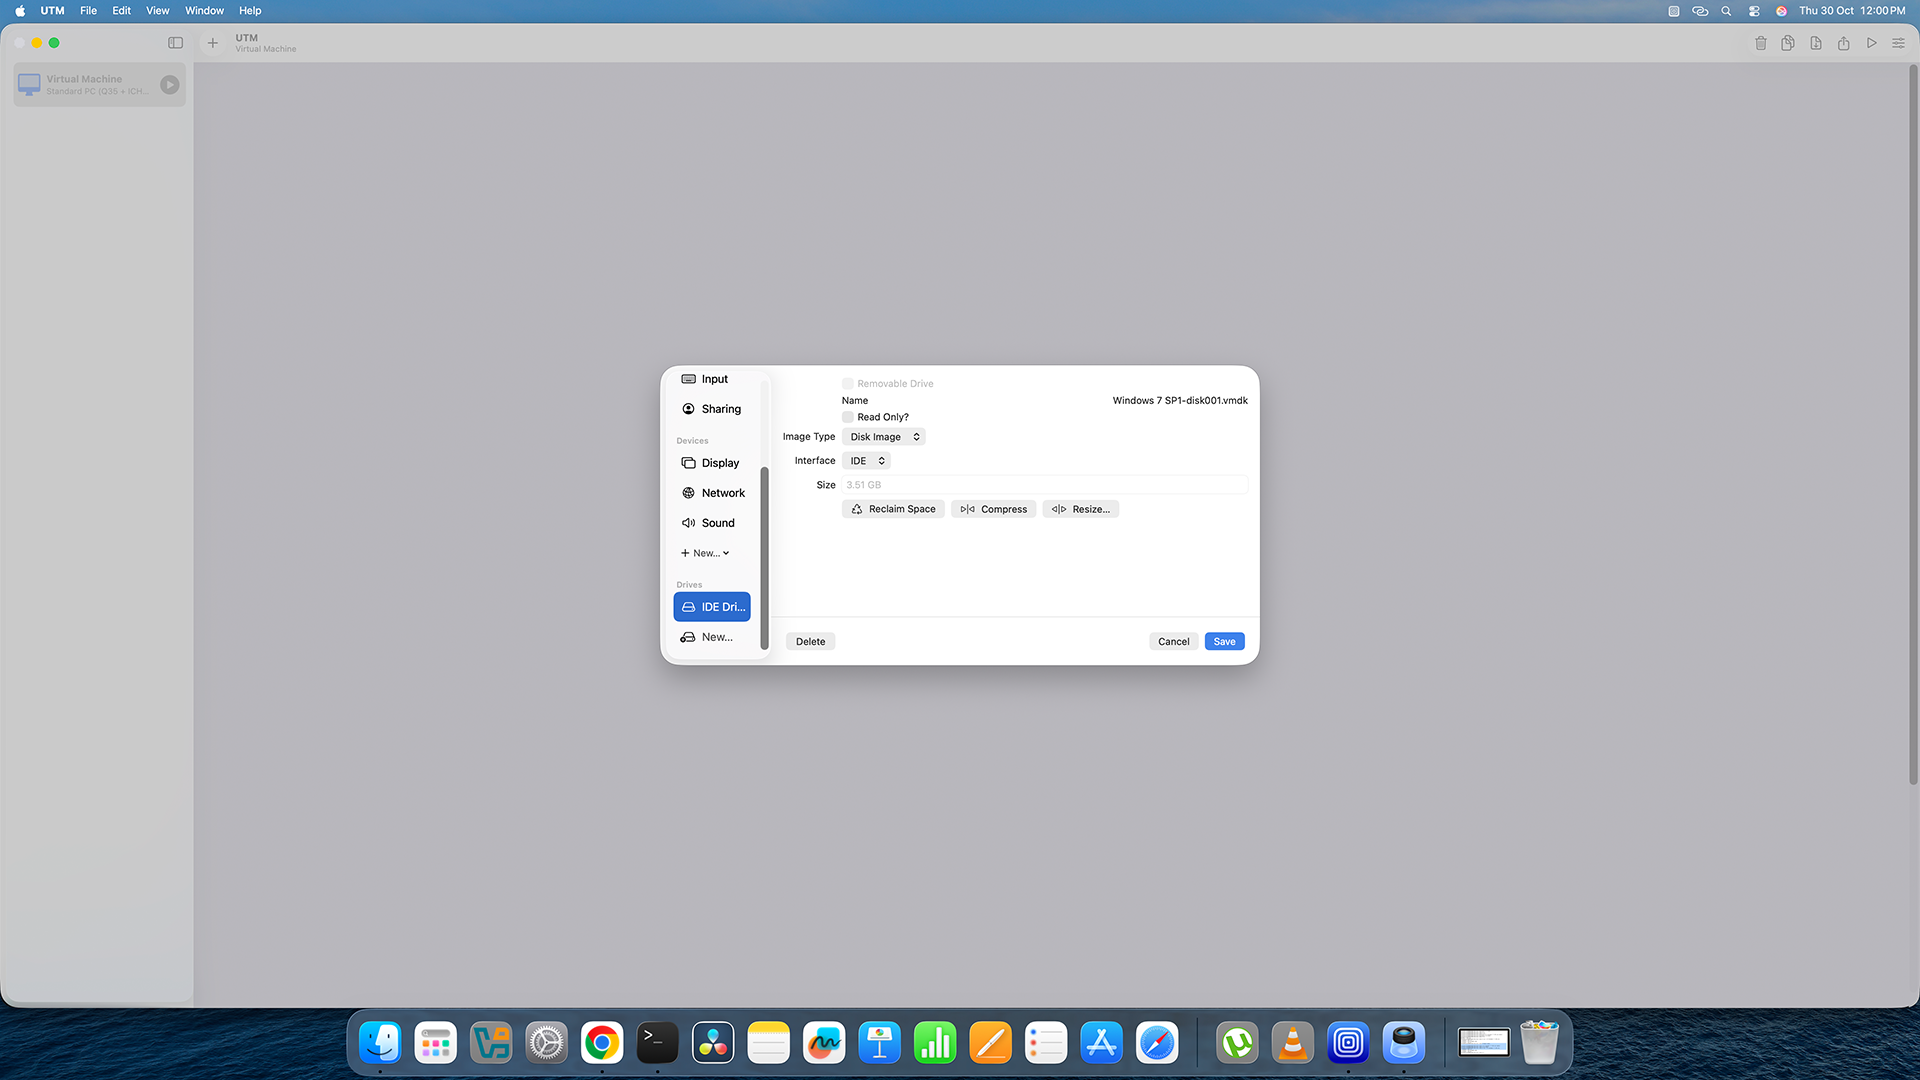
Remove the old IDE Drive, add a new imported drive, and select your VMDK file. -
13
Close Settings and Start the Virtual Machine!
Close the Edit window (press Command + W or click the red circle at the top-left). UTM saves your settings automatically.
Now click the Play button (the triangle) next to your VM name in the sidebar. Your virtual machine will start!
If the VM does not start or shows an error: Some VMDK files are not compatible with UTM in their original format. If this happens, go back and follow the Convert VMDK to qcow2 guide — converting the file first almost always fixes the problem!
If your virtual machine did not start or you saw an error message, do not worry — this is common with direct VMDK imports. The fix is simple: convert your VMDK file to the qcow2 format first, and then import the converted file into UTM. Follow the guide below: