-
1
Locate Your VMDK File
Find your .vmdk file on your Mac — it is probably in your Downloads folder or wherever you saved it. A VMDK file is the virtual hard drive of your virtual machine.
-
2
Put It in Its Own Folder
To keep things tidy, create a new folder in your Downloads folder (right-click an empty area, then click New Folder). Give it a simple name like my-vm. Then move your .vmdk file into that folder.
-
3
Open Terminal
Press Command + Space on your keyboard to open Spotlight Search. Type Terminal and press Enter. A black or white window will open — that is Terminal, your Mac's command centre!
-
4
Navigate to Your Folder in Terminal
Type the command below (replace my-vm with your actual folder name) and press Enter:
cd ~/Downloads/my-vmNow Terminal is inside your folder — anything you type here will work with files in that folder.
Homebrew is a helper that installs tools on your Mac with simple commands. If you already installed it before, skip to Part 3! To check, type brew --version in Terminal and press Enter. If you see a version number, you already have it!
-
1
Run the Homebrew Installer Command
Copy and paste this entire command into Terminal, then press Enter. It will automatically download and install Homebrew for you:
/bin/bash -c "$(curl -fsSL https://raw.githubusercontent.com/Homebrew/install/HEAD/install.sh)"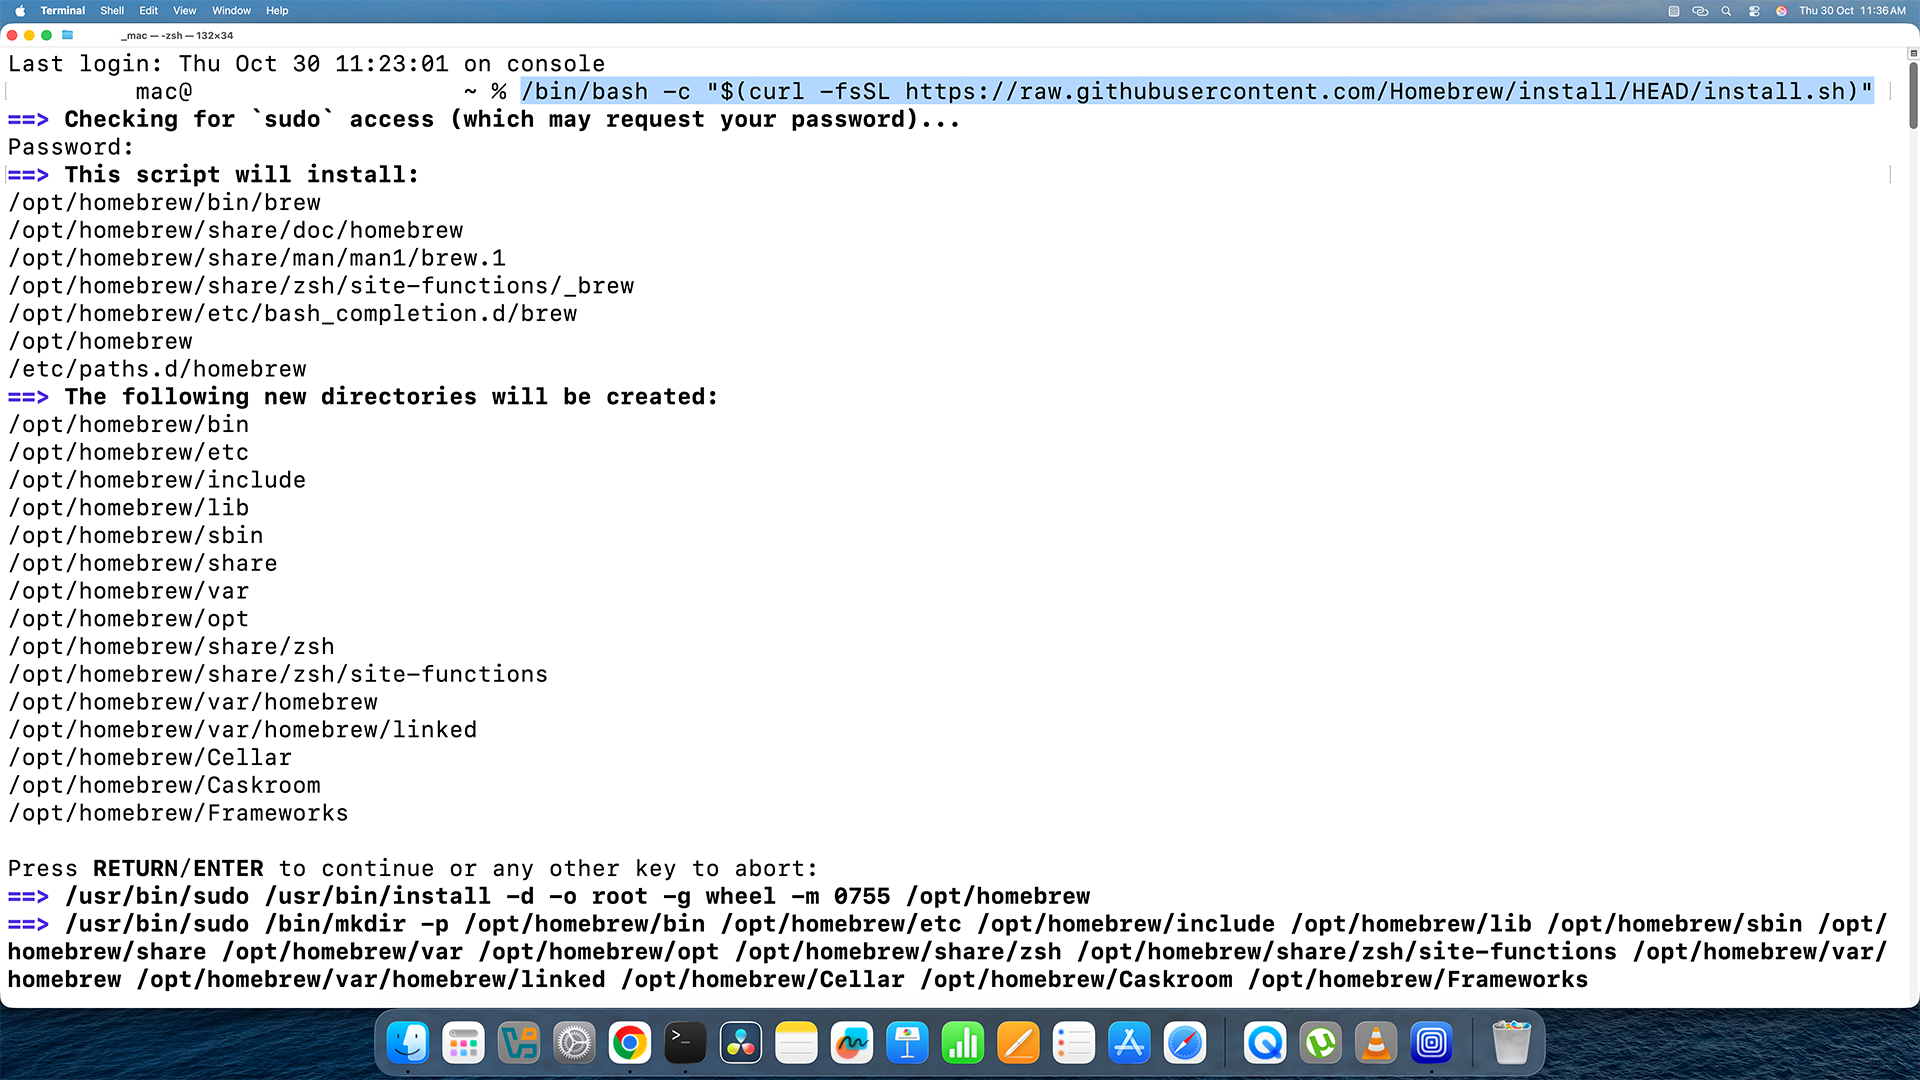
Paste this command into Terminal — it looks just like this. -
2
Type Your Mac Password If Asked
If Terminal asks for your password, type it and press Enter. You will not see the letters as you type — that is perfectly normal for password prompts in Terminal. Just type and press Enter!
-
3
Fix Homebrew Path If It Is Not Found (Only If Needed)
After installing, if Terminal says it cannot find the brew command, run these two fix commands one at a time. Replace your_username with your Mac's account name:
echo 'eval "$(/opt/homebrew/bin/brew shellenv)"' >> /Users/your_username/.zprofileeval "$(/opt/homebrew/bin/brew shellenv)"Only run these if needed! If brew --version works fine, skip these two commands.
-
1
Install QEMU With One Command
In Terminal, type this command and press Enter. Homebrew will fetch and install QEMU — the tool that does the actual conversion magic!
brew install qemu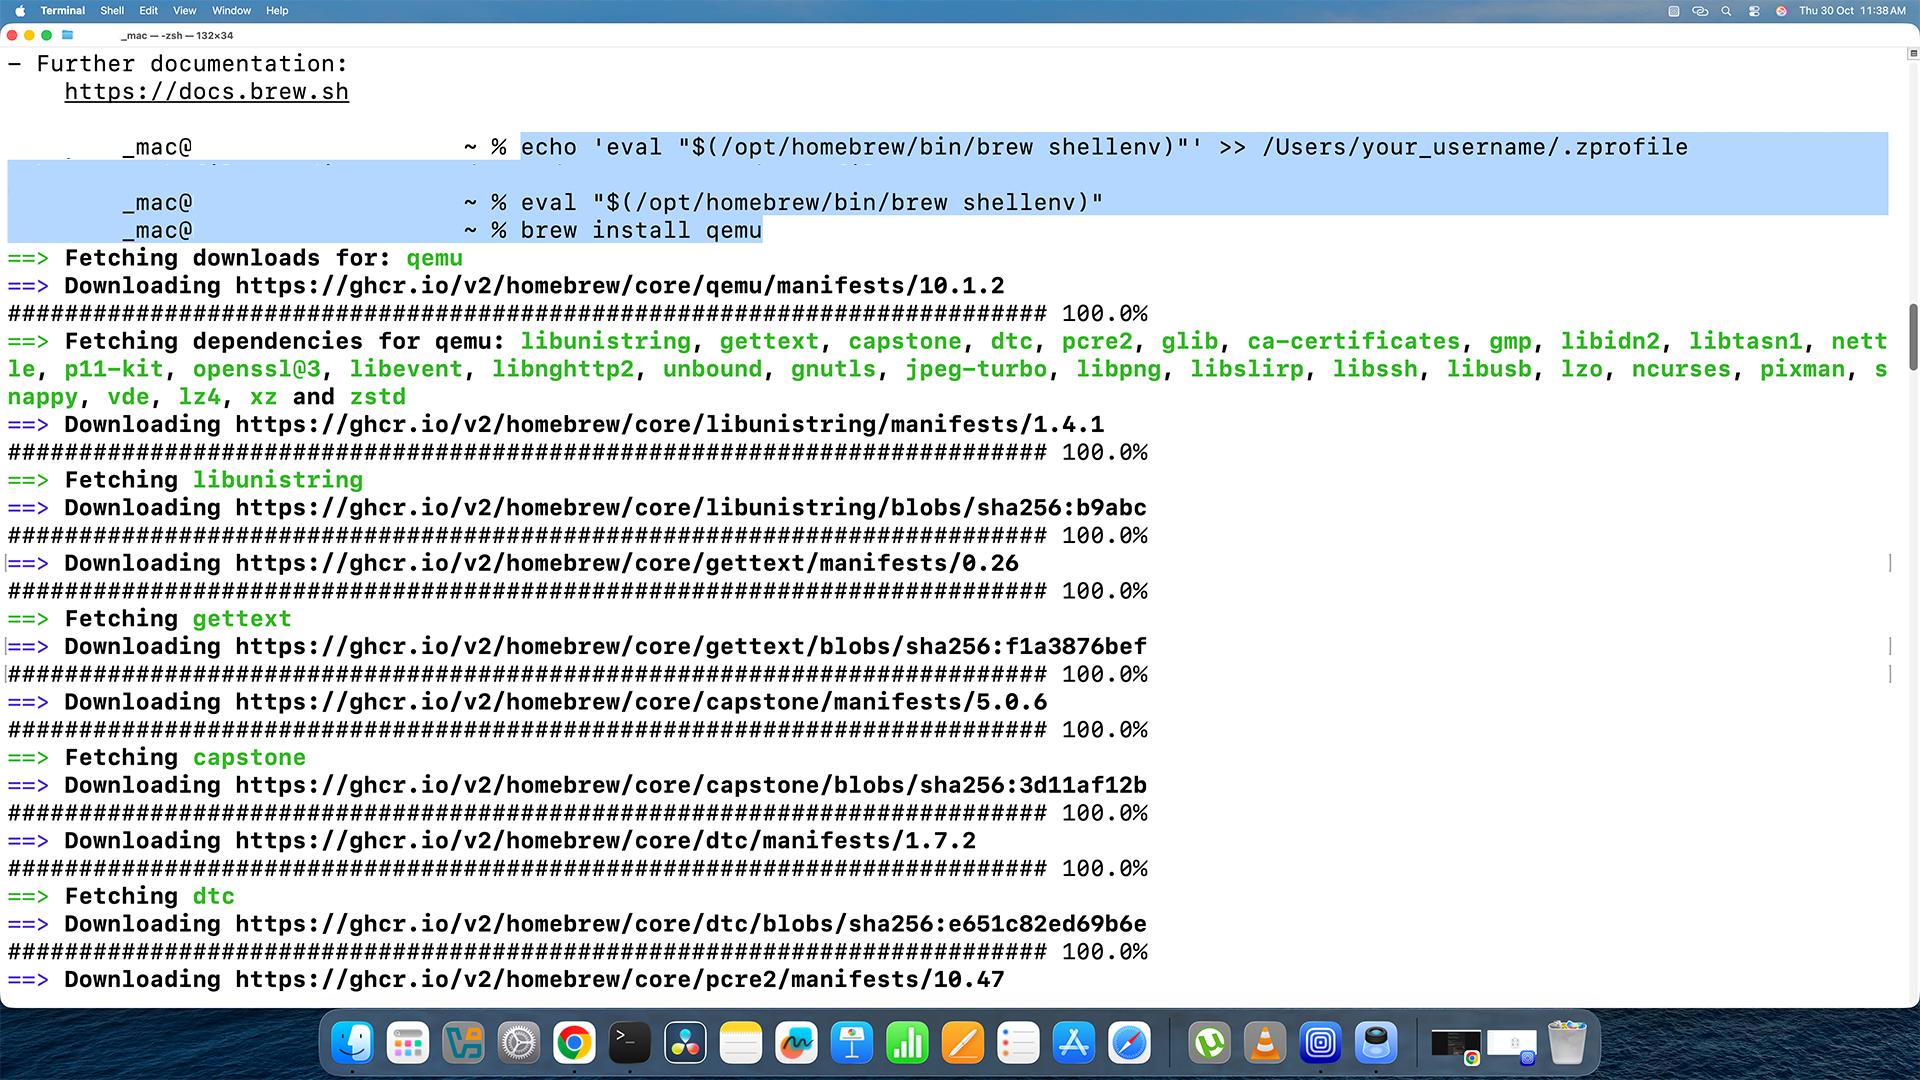
Homebrew installing QEMU — wait for it to finish before continuing. This might take a minute or two. You will know it is done when the cursor reappears and you can type again.
Almost there! Make sure Terminal is still inside the folder where your VMDK file is. If you closed Terminal, open it again and run cd ~/Downloads/my-vm first.
-
1
Run the Conversion Command
Type this command into Terminal. Replace the parts in [ ] brackets with your actual file names:
qemu-img convert -f vmdk -O qcow2 [your-file.vmdk] [your-output.qcow2]For example, if your file is called myvm.vmdk and you want the output called myvm.qcow2, type:
qemu-img convert -f vmdk -O qcow2 myvm.vmdk myvm.qcow2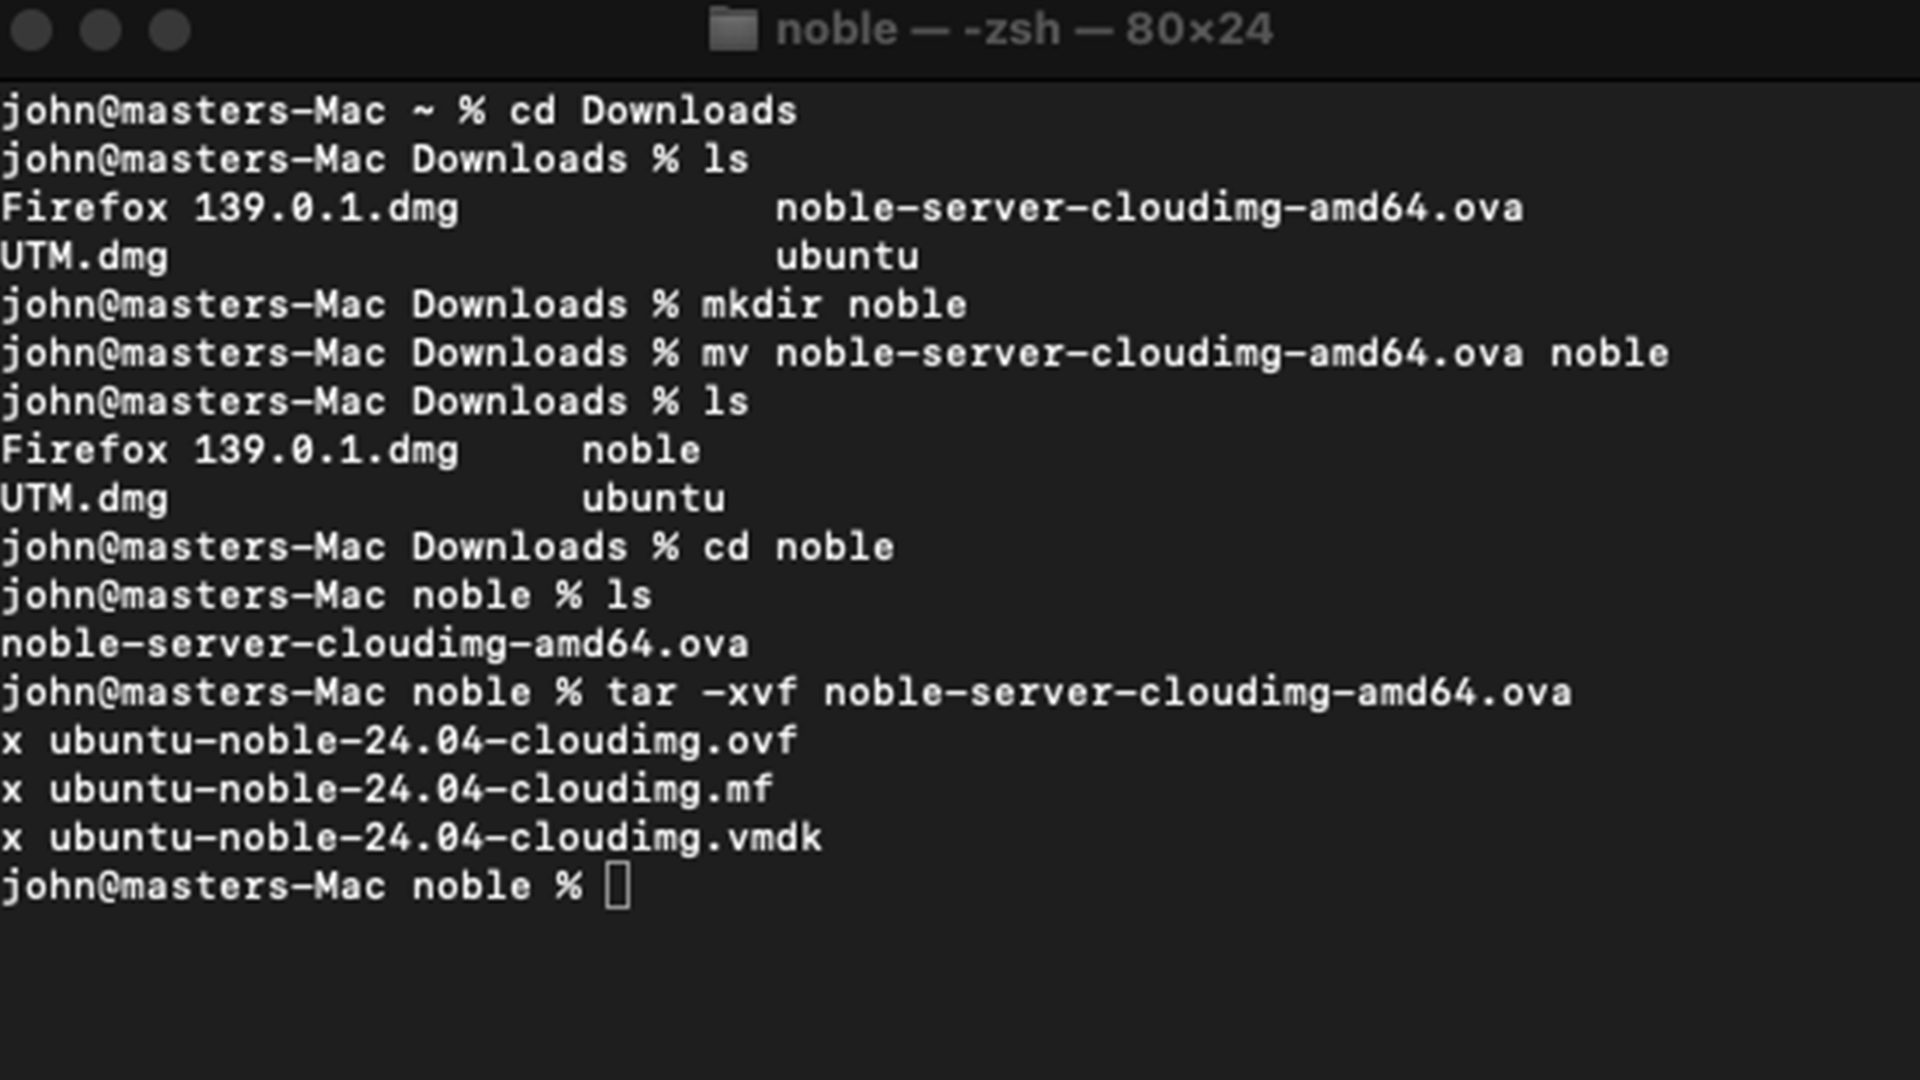
The conversion command running in Terminal — Terminal will be quiet while it works. -
2
Wait for the Conversion to Complete
Terminal will go quiet — it is busy converting your file! Do not close Terminal or turn off your Mac during this step. When it is done, the cursor will come back and a new .qcow2 file will appear in your folder.
You did it! Your VMDK file has been converted to qcow2. You can now head to the next step to import it into UTM. Keep your .qcow2 file safe — you will need it!