-
1
Download Your OVA File
Go ahead and download the .ova file you want to use. An OVA file is like a zip bag that contains your whole virtual machine inside it. It usually ends with the letters .ova.
-
2
Find It in Your Downloads Folder
Once the download is done, your OVA file will be sitting in your Downloads folder. You can find your Downloads folder by clicking the Finder icon (the smiley face icon in your Dock) and then clicking Downloads on the left side.
-
3
Create a New Folder and Move the OVA File Into It
Inside your Downloads folder, right-click on an empty space and choose New Folder. Give it a simple name like my-vm. Then drag your OVA file into that new folder. This keeps everything nice and tidy!
-
4
Open the Terminal App
Terminal is a special app where you can type commands to tell your Mac what to do — think of it like talking directly to your Mac! To open it: press Command + Space on your keyboard to open Spotlight Search, type Terminal, and press Enter.
-
5
Go to Your New Folder in Terminal
In Terminal, type the command below to navigate into your new folder. Replace my-vm with the exact name you gave your folder.
cd ~/Downloads/my-vmThen press Enter. The cd command means "Change Directory" — it moves Terminal into your folder.
-
6
Extract the OVA File
Now type this command to unpack your OVA file. Replace your-file.ova with the actual name of your file (for example: ubuntu-24.ova).
tar -xvf your-file.ovaPress Enter. You will see text scrolling — that means it is working! The tar command is unpacking the OVA bag and taking out everything inside.
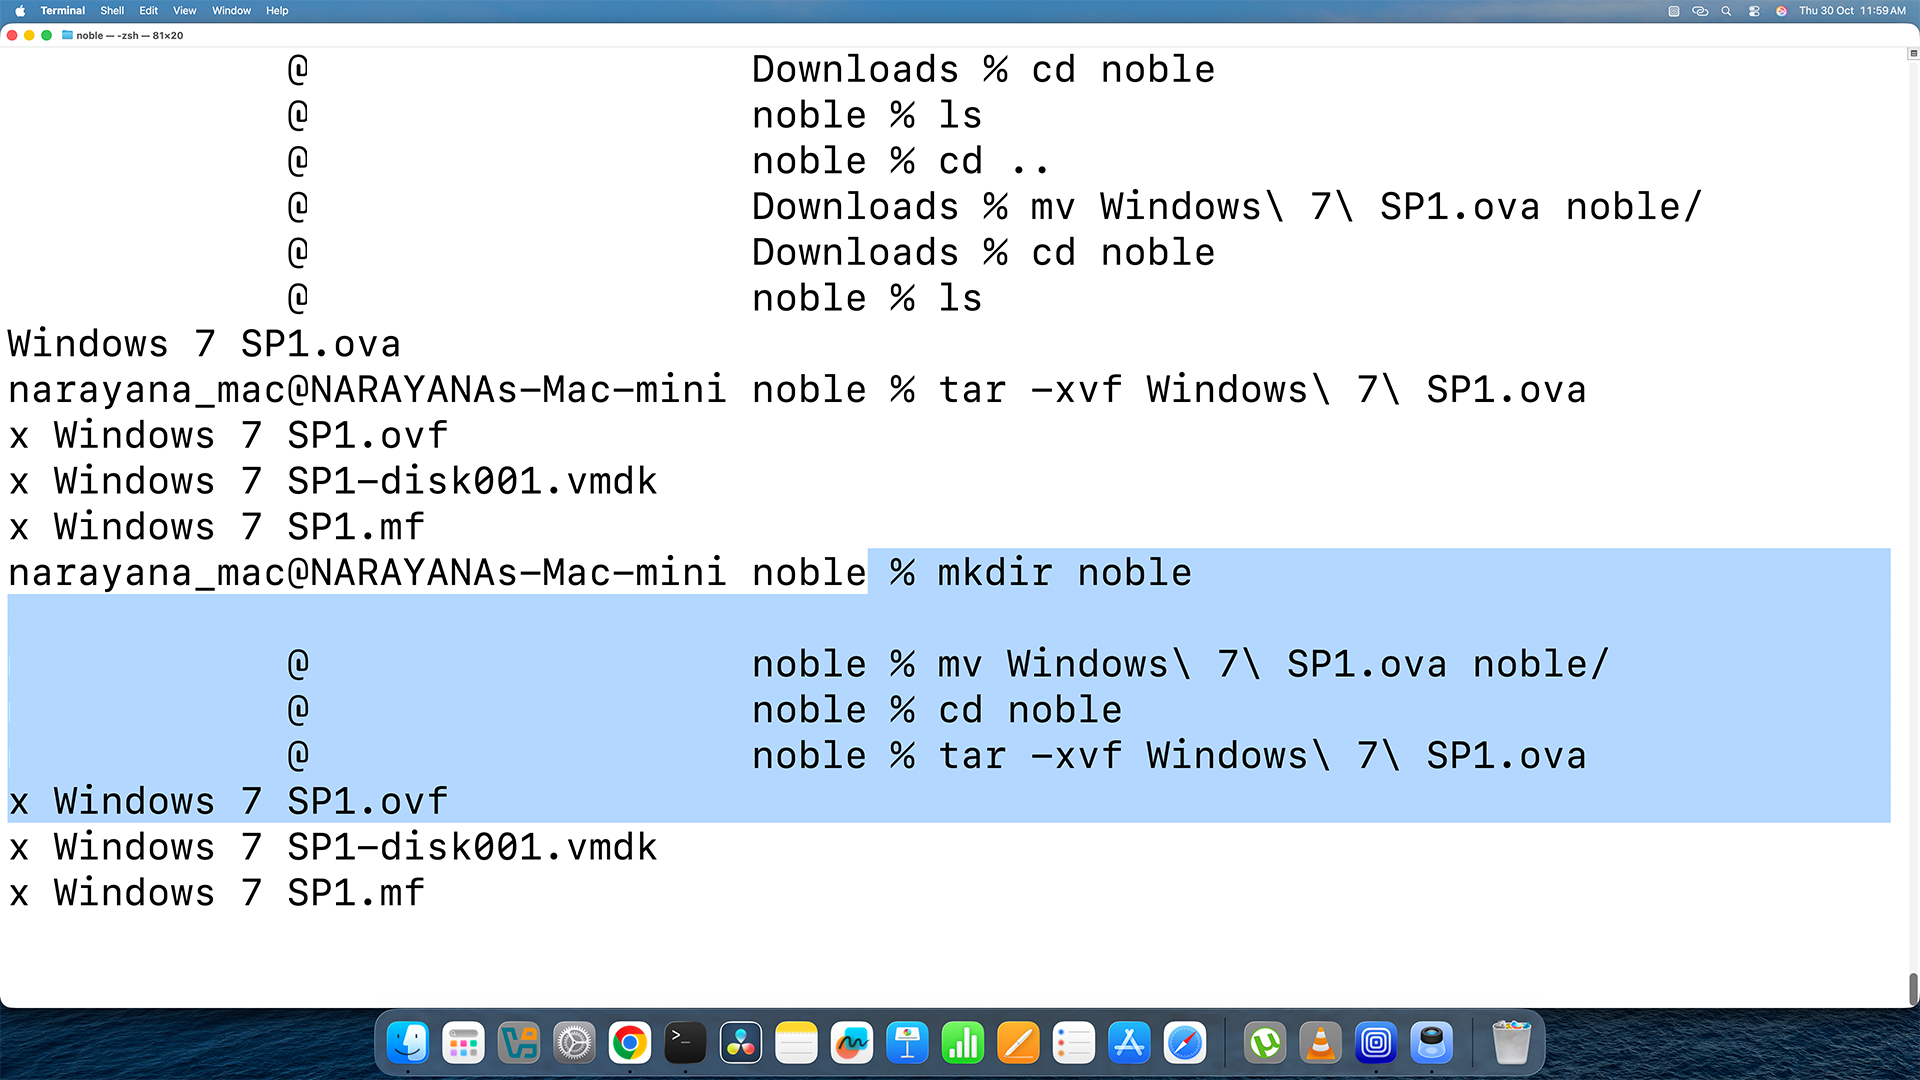
This is what Terminal looks like after extracting the OVA file. -
7
You Will See 3 New Files — Focus on the .vmdk One!
After extraction, your folder will have three new files:
• your-file.ovf — a description file (not needed now)
• your-file-disk01.vmdk — the actual disk image ⭐ This is the important one!
• your-file.mf — a checksum file (not needed now)Remember the name of your .vmdk file! You will need it in the next step. It usually looks like your-file-disk01.vmdk.
Homebrew is like an app store for special Mac tools that are not in the regular App Store. We need it to install the conversion tool called QEMU. If you already have Homebrew installed, skip to Part 3!
-
1
Open the Homebrew Website (Optional — Just for Reference)
You can visit https://brew.sh to learn more about Homebrew, but you do not need to download anything from there. We will install it using a command in Terminal.
-
2
Paste This Command Into Terminal and Press Enter
Copy the entire command below. Click inside Terminal, paste it in, and then press Enter. This command downloads and installs Homebrew automatically!
/bin/bash -c "$(curl -fsSL https://raw.githubusercontent.com/Homebrew/install/HEAD/install.sh)"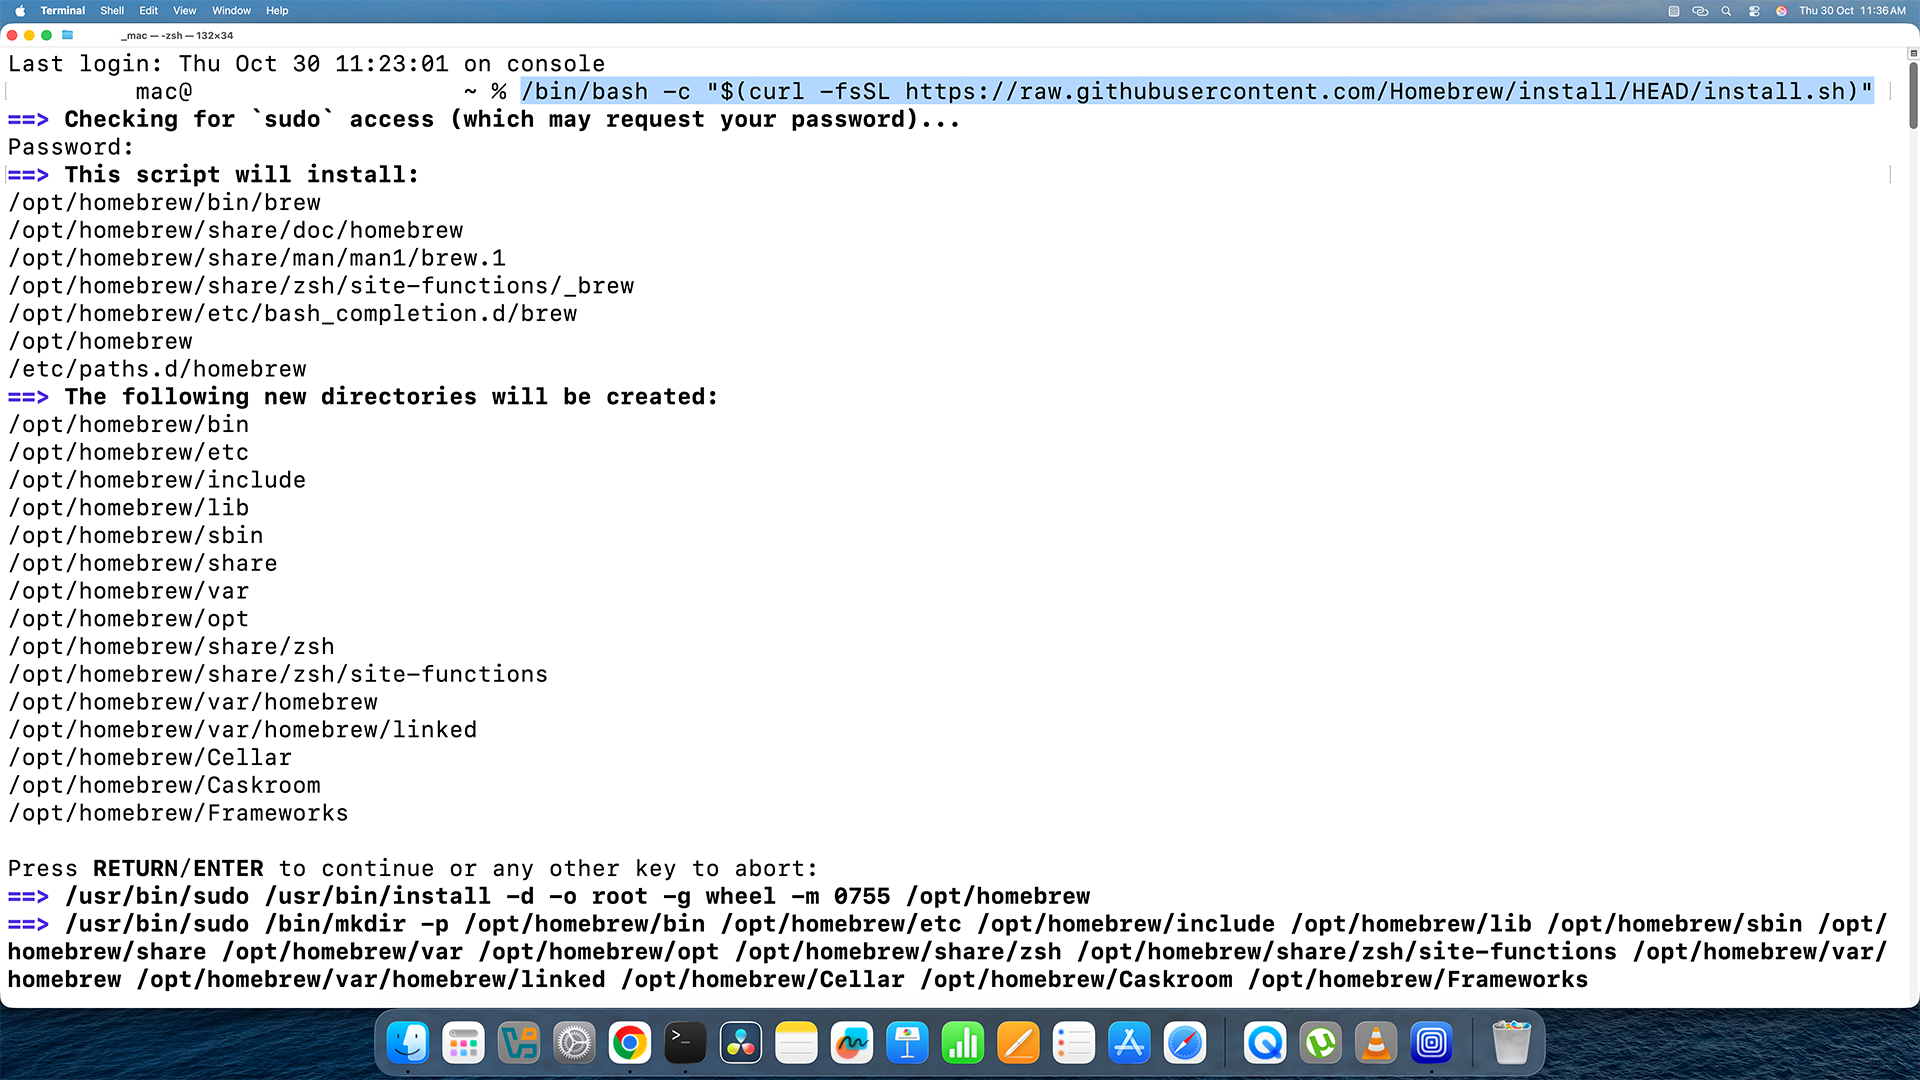
Paste this command into Terminal — it looks just like this. -
3
Enter Your Mac Password If Asked
Terminal might ask for your Mac's password. Go ahead and type it — do not worry if you cannot see the letters appearing; that is normal for passwords in Terminal. Press Enter when done.
The installation may take a few minutes. Just wait patiently!
-
4
If Brew Is Not Found After Installing — Run These Two Fix Commands
Sometimes your Mac needs a little nudge to recognise Homebrew. If you type brew and get an error saying it was not found, run these two commands one at a time (replace your_username with your Mac account name):
echo 'eval "$(/opt/homebrew/bin/brew shellenv)"' >> /Users/your_username/.zprofileeval "$(/opt/homebrew/bin/brew shellenv)"Heads up! You only need these two commands if Terminal says it cannot find brew after installation. If everything worked fine, skip this step!
QEMU is the tool that actually converts your VMDK file into a qcow2 file. Installing it takes just one command!
-
1
Install QEMU Using Homebrew
In Terminal, type this command and press Enter:
brew install qemuHomebrew will download and install QEMU for you. This might take a minute or two — just wait for it to finish!
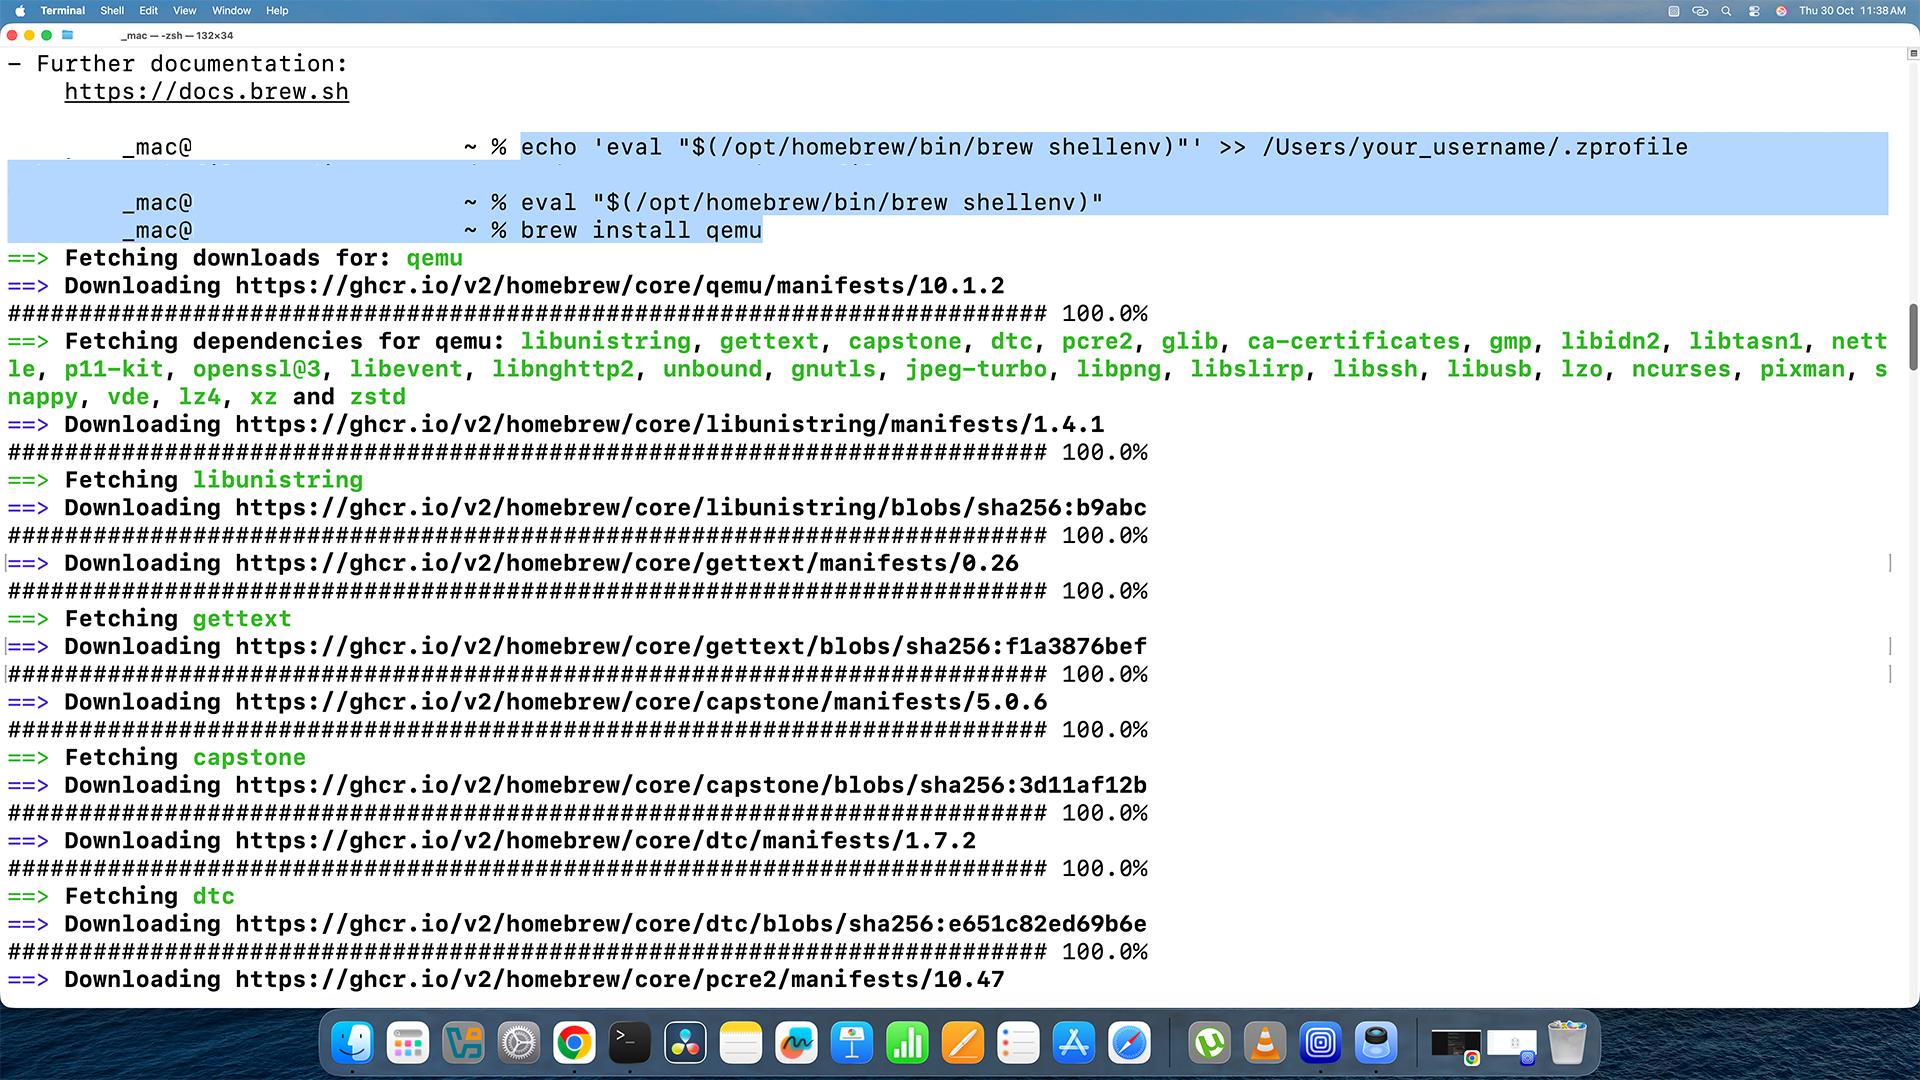
Terminal installing QEMU via Homebrew — this is what it looks like.
Now for the exciting part — turning your VMDK file into a qcow2 file! Make sure Terminal is still inside your folder (from Step 5 in Part 1).
-
1
Run the Conversion Command
Type this command into Terminal. Replace the parts in [ ] brackets with your actual file names:
qemu-img convert -f vmdk -O qcow2 [your-file-disk01.vmdk] [your-output.qcow2]For example, if your VMDK file is called ubuntu-24-disk01.vmdk, you would type:
qemu-img convert -f vmdk -O qcow2 ubuntu-24-disk01.vmdk ubuntu-24.qcow2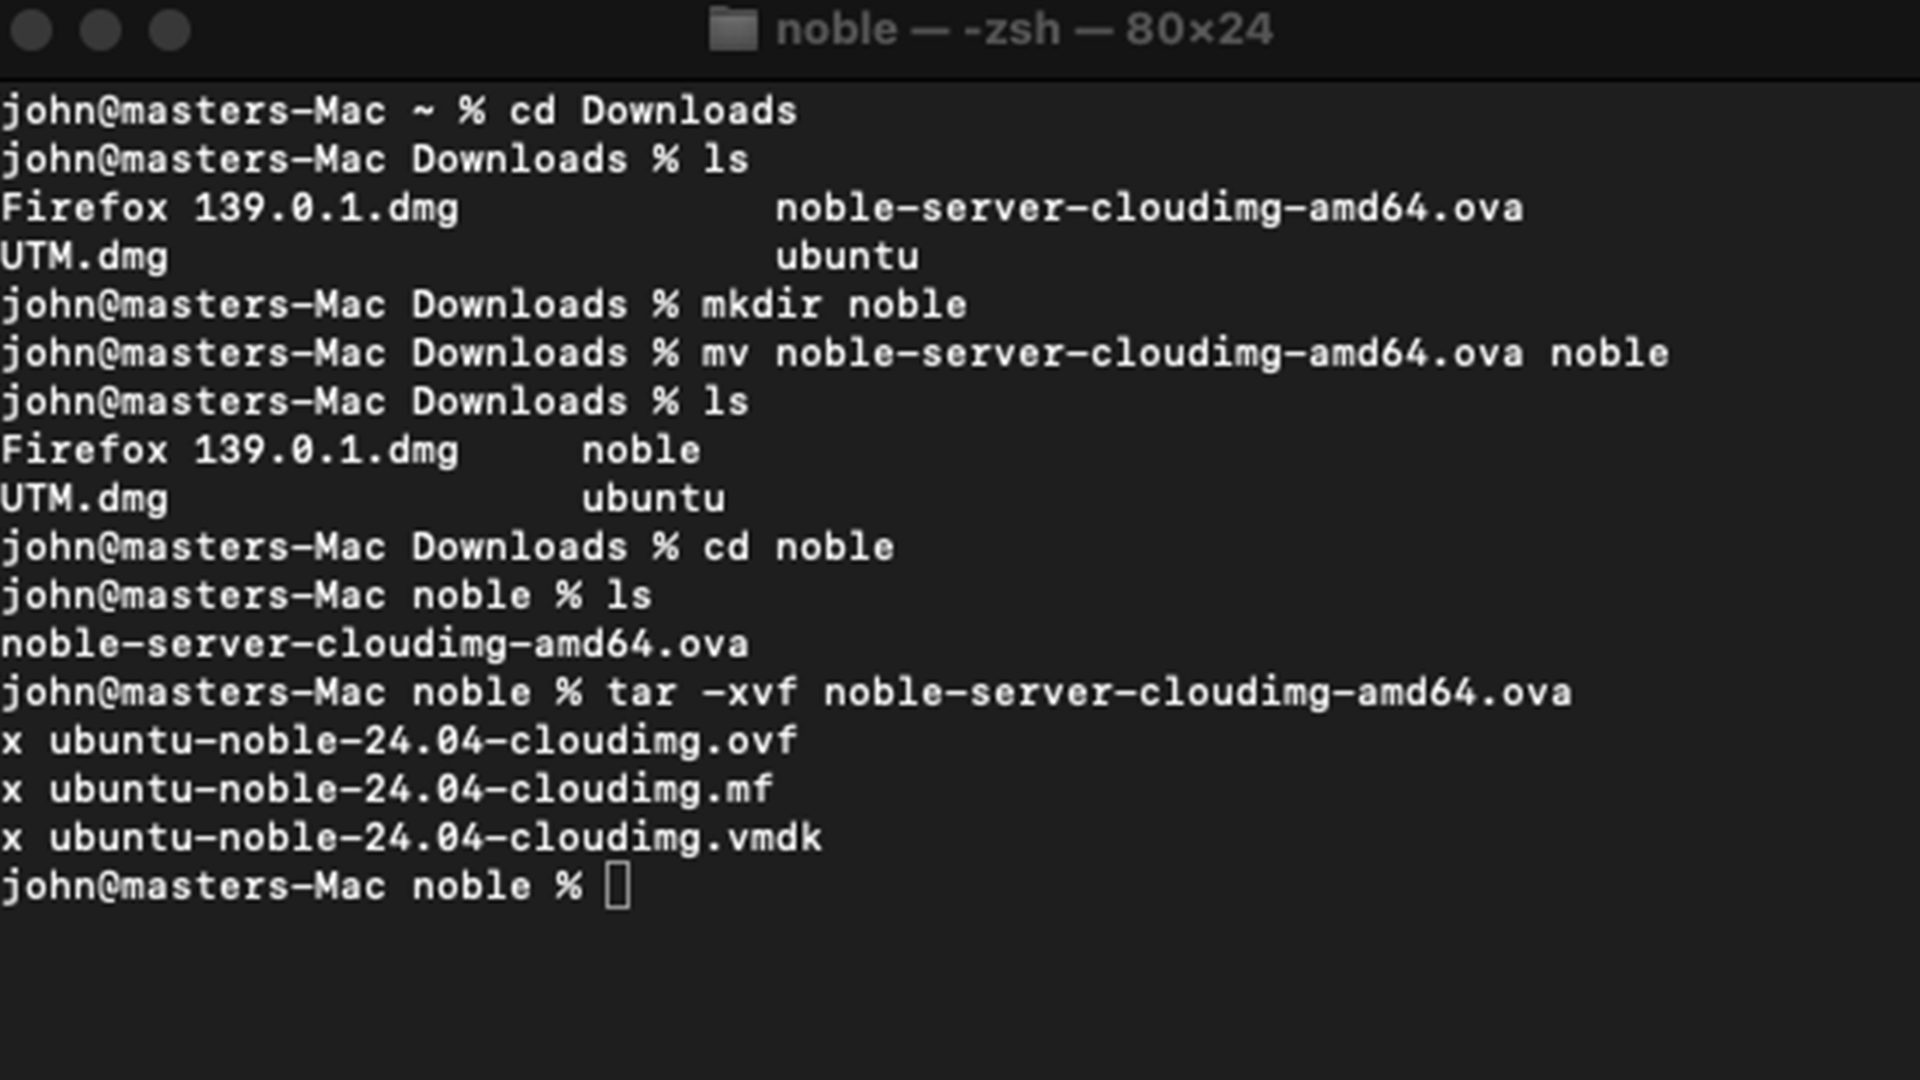
The qemu-img command converting the VMDK file to qcow2 format. -
2
Wait for the Conversion to Finish
Terminal will be quiet for a while — that means it is working! Depending on the size of your file, this could take anywhere from 30 seconds to a few minutes. When it is done, the cursor will appear again and you can type commands again.
After conversion, you will see a new file ending in .qcow2 in your folder. That is your converted file — keep it safe! You can now delete the original .ova, .ovf, and .mf files to save space, but keep the .vmdk and .qcow2 files.